Canadian Acres
Farming in the North
Our Chicken Coop
Let me tell you about our chicken coop.
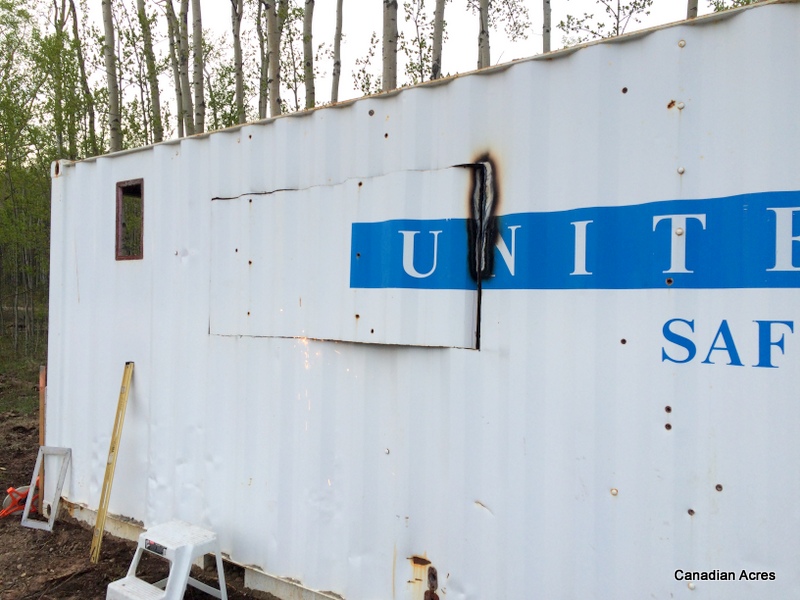
If you will, remember back to the beginning of the summer where it all began… A sea can arrived at Canadian Acres.

It was hard to imagine what the end product would look like, but we were confident that it would be a fortress of a coop no matter what it looked like.
We started by clearing out the “shop” that had inhabited the sea can for an unknown amount of time. There were cables, breakers and a large amount of aluminum to be removed. So we did just that.

When it was cleared out, it was apparent that the floor needed to be sanded and repainted, that the whole interior needed a good scrub down and a fresh coat of paint.
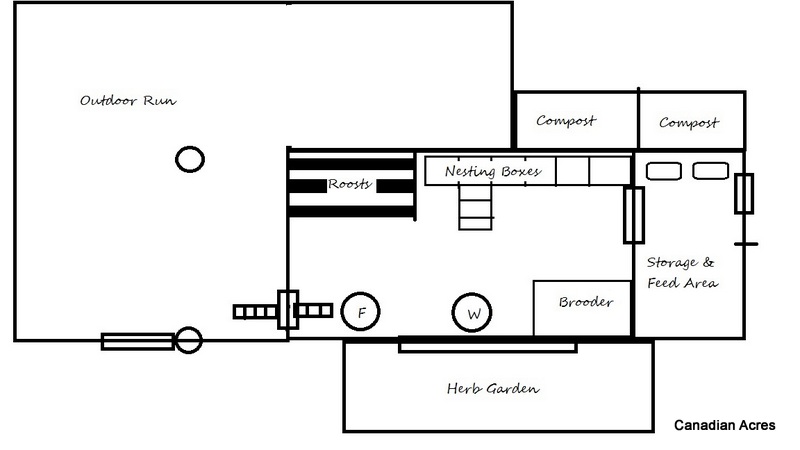
The sea can measured 8 feet x 20 feet and we wanted to make sure we utilized the space in a smart and resourceful way.
The original plan:
We were lucky that the sea can was fully insulated, so that was one less cost for us. We made sure to spray foam insulation in all of the areas we cut into and/or covered up, including about 100 bolt holes that littered the outside of the sea can.
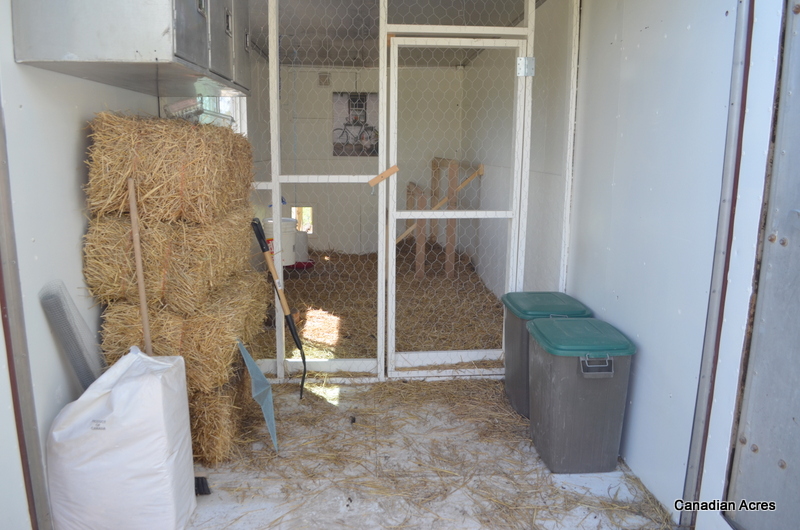
Clay built a partition wall to make going in and out a little easier. Dodging chickens and blocking dogs didn’t sound like a daily event I wanted to deal with. The partitioned area measured 5′ x 8′ and left the actual chicken run 120 square feet of room. Most chicken keeping resources call for at least 4 square feet per bird, so we had plenty of room for happy hens.

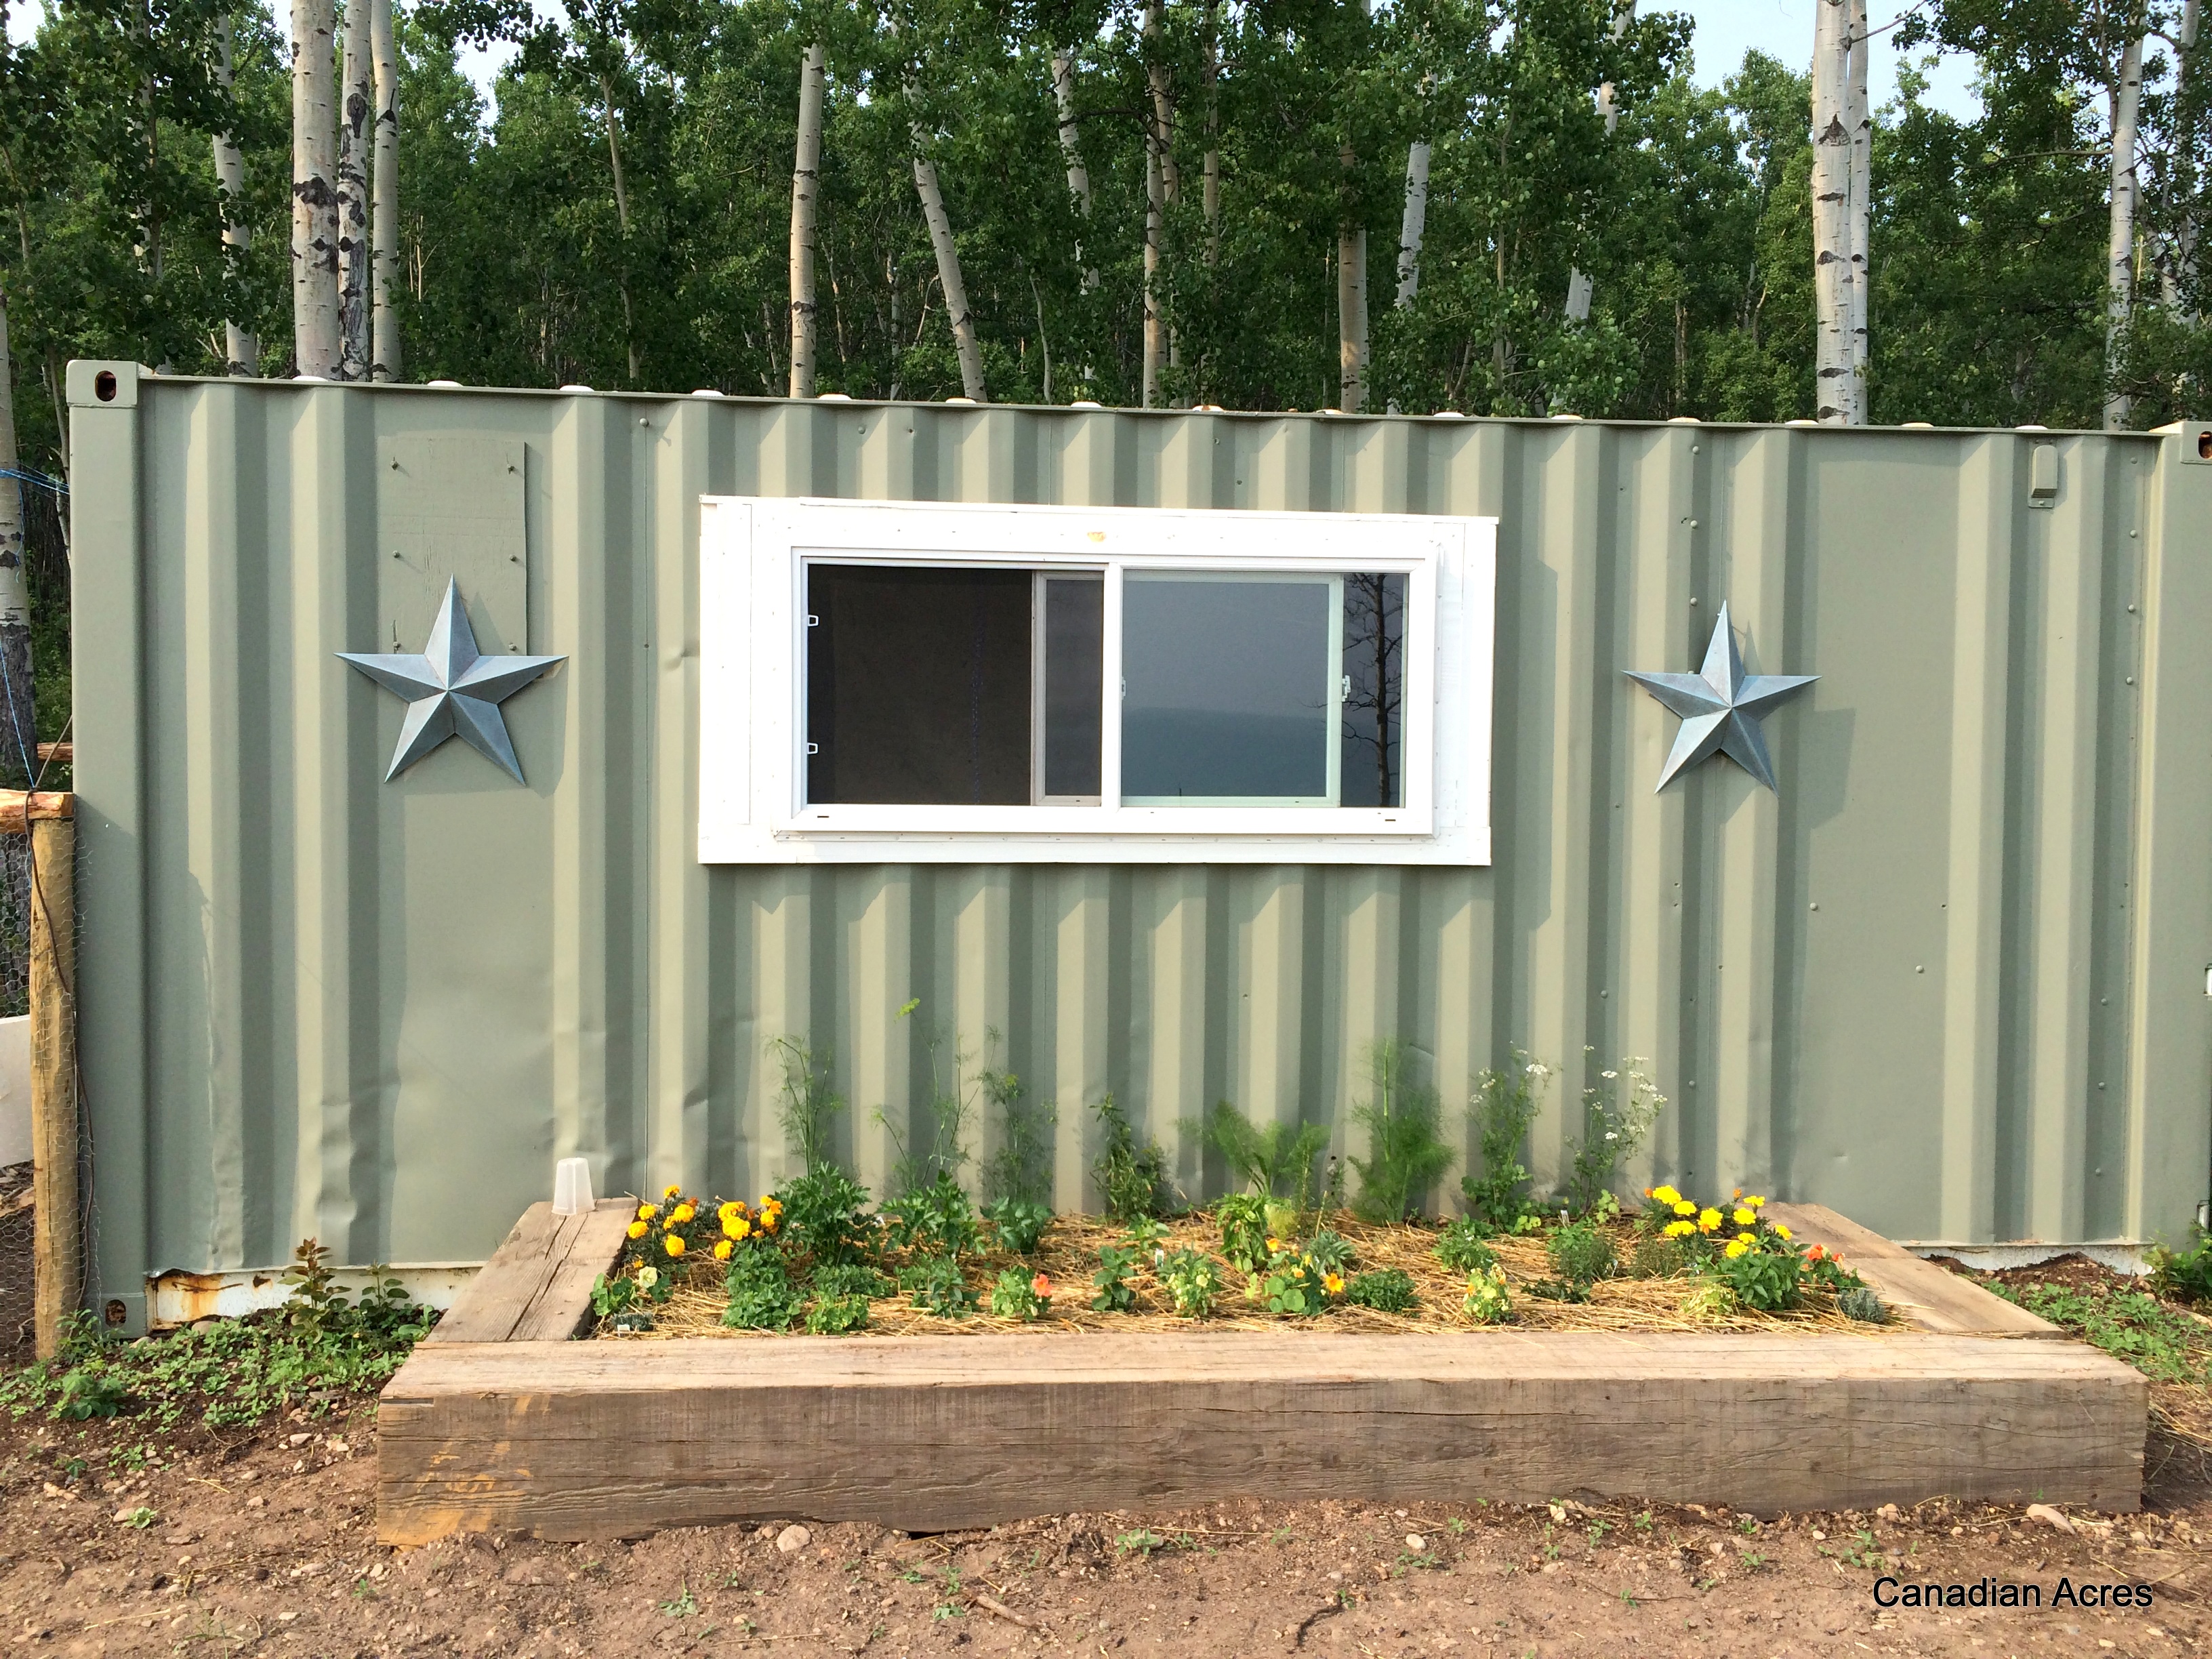
We cut and installed a window we got off of an online classified for $40, allowing plenty of light and ventilation on the south facing wall.

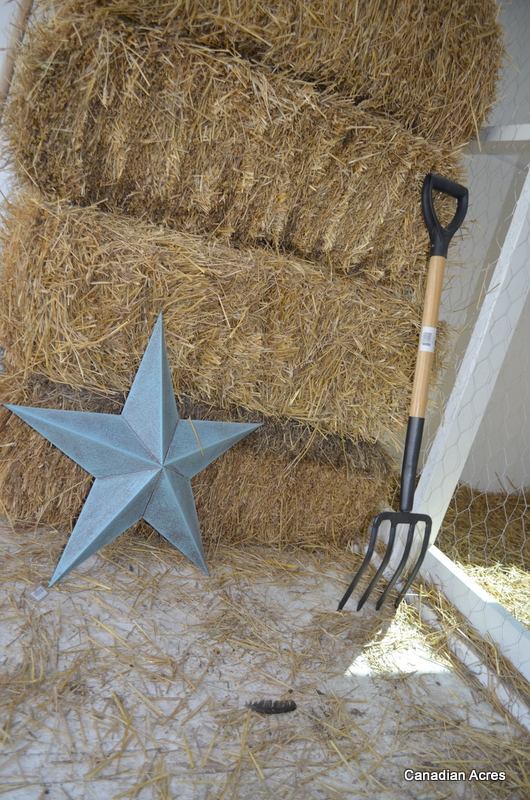
Inside, a waterer and feeder were hung from the ceiling and removable roosts were added too. All easy to clean and maintain, right up my alley! There are 3 levels of roosts measuring 4 feet each, allowing for at least 10 inches per bird if we have 14-15 birds (which is kind of what I’m going for).

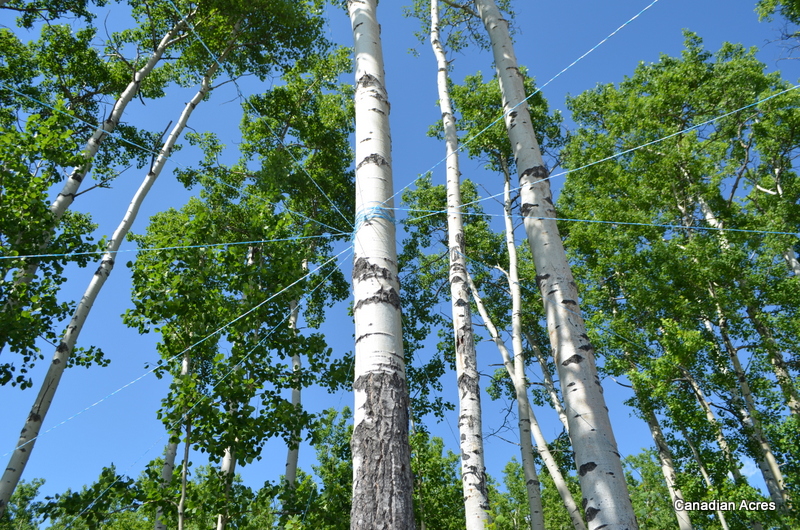
Outside, we built a run that is roughly 25 feet x 25 feet. I dug a trench (ugh) roughly 6-12 inches deep between posts to allow us to bury a length of chicken wire to help deter predators. After enclosing the run with 1 inch chicken wire, I added string to the top of the run to prevent overhead predators, namely our resident hawk that hunts in the fields daily. My friend in Alaska swears by this method as it allows a winged predator to enter easily but will not allow for an easy escape. Most predators will not enter an area that does not have an easy escape route. So with that theory in mind, I strung away!


Clay cut a chicken door to allow entrance into the run and also made this predator proof when we close it at night.


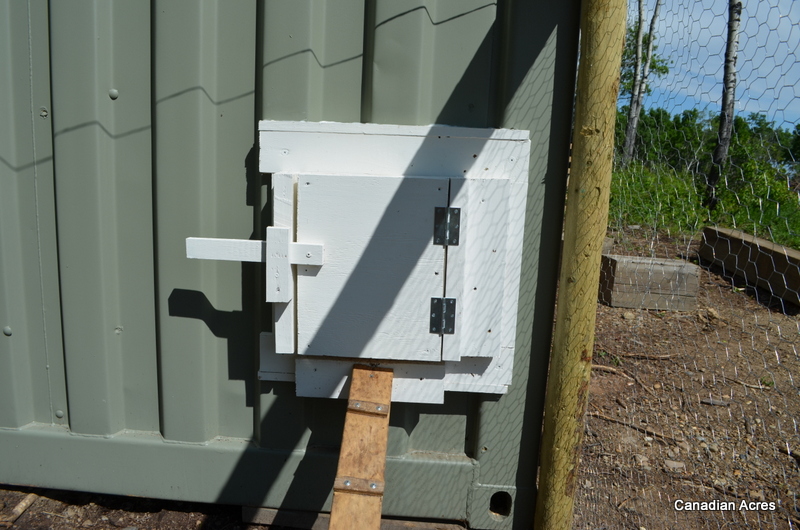
Turns out it can also easily accommodate the size of a very helpful 7 year old.

When all was finished I painted the exterior and we added an herb garden. The only things to add are electricity for the winter months, a roof over part of the outdoor run, and the nesting boxes to gather our future eggs. The older chickens are closing in on 18 weeks (average laying start date) so it will be very exciting to see what color eggs we end up with.
All in all I’d say we spent a total of $150 on our coop, pretty thrifty if you ask me!
We’re thrilled with the outcome and the chickens seem very happy in their new home. MUCH better than my craft room I’m sure. It’s proven to be quite predator proof and even eludes the two security guards who work the perimeter diligently.


What do you think?
~Katy

Amazing!
Thank you, it was such a fun project 🙂
I think stringing line above your chicken run will work to deter predatory birds. I saw a similar idea used to keep birds out of an area when I worked at AWWU. I hope you get eggs soon.
Thanks Jamie, I hope so! The idea came from Saskia, so let’s hope for the best. It’s helpful to know others are using something similar out there 🙂
Looks like it is built for the ages. Sea cans are instant bomb-proof structures.
Awesome! We can now count on fresh eggs even if the worst comes to fruition 🙂