Canadian Acres
Farming in the North
Permaculture and Hugelkultur – Adventures in Gardening
Permaculture, what? Hugelkultur, who?
Ladies and gentlemen, we have begun our journey in the wonderful world of sustainable gardening here at Canadian Acres. And it all begins with some funny sounding words with very big ideas.
Over the last few years I had the privilege of taking some beginner courses on permaculture in Anchorage. A beautiful couple named Saskia and Matt have made an amazing permaculture site in the urban setting of Anchorage, Alaska and have inspired many to make the switch from conventional gardening and overall living to permaculture and it’s practices. Once you take a class from Saskia, it all just feels right. Check them out at the Williams Street Farmhouse.
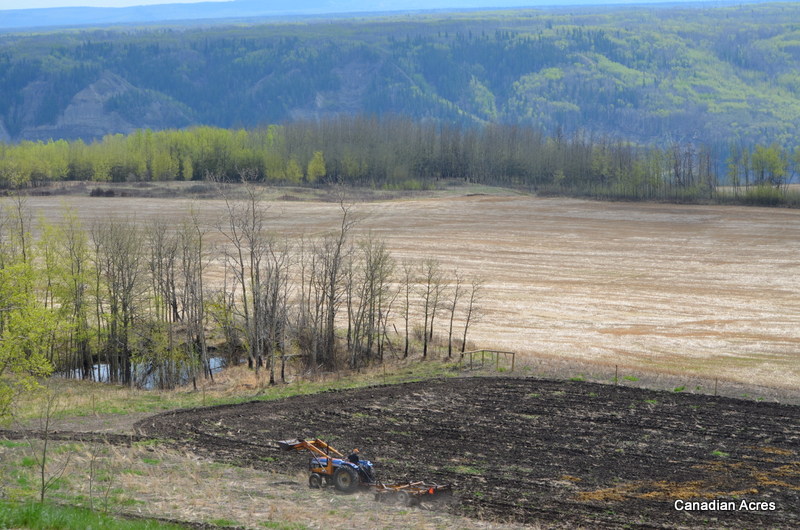
After getting my feet wet with a few courses I made the big move to our 160 acres in British Columbia. Quite a change from a townhouse with a few raised beds to this. Oh, but I’m so ready for the challenge. I spent winter dreaming and scheming of the perfect garden, and devoured material on permaculture. I fell in love with the idea of a food forest and making gardening work for me instead of against me. Sounds grand, sign me up!
Permaculture is defined as the conscious design and maintenance of agriculturally productive systems which have the diversity, stability, and resilience of natural ecosystems. Since we are surrounded by so many diverse and wonderful ecosystems here in the valley, I want to add to that with my garden.
My wonderful husband thought about me and my love of gardening when he fenced our quarter section of land and made sure to leave about an acre section off of the main farmland for my site. It’s beautiful. Right next to a dugout it has rich soil and south facing views. Conveniently he’s also a environmental scientist, so soil is his specialty. And our lab reports are good. Full of nutrients and pesticide free! Now, I just have to wrap my head around an entire acre to garden in… an acre… that’s huge.

Like really big.
But, the nice thing about permaculture is the practice of using food forests and other types of design principles to make my job as a the gardener easier over the years. Less weeding, watering and maintenance as time goes on… yep, definitely sign me up.
The two books I really enjoyed on the subject were The Vegetable Gardner’s Guide to Permaculture by Christopher Shein and Gaia’s Garden by Toby Hemenway.

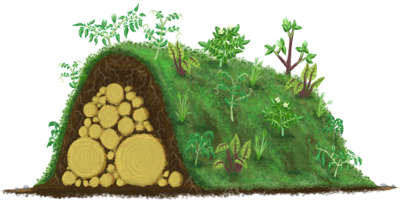
This year we are focusing on design. I want to get some fruit trees and perennials planted and incorporate different design principles that will set us up for success over the years to come. One of these principles is called Hugelkultur.
Hugelkultur is an old German word meaning “hill-culture”. The basic concept includes building garden beds upon rotting logs and wood, adding some nitrogen filled material to help balance the carbon overload and covering it all with dirt and compost. Over time, the wood will decompose, acting like a sponge to store and provide water and nutrients. Many of these beds are built into large “hill” like beds.


The concept seems pretty genius to me. We decided to experiment with the first beds to be built at Canadian Acres, our house flower beds.
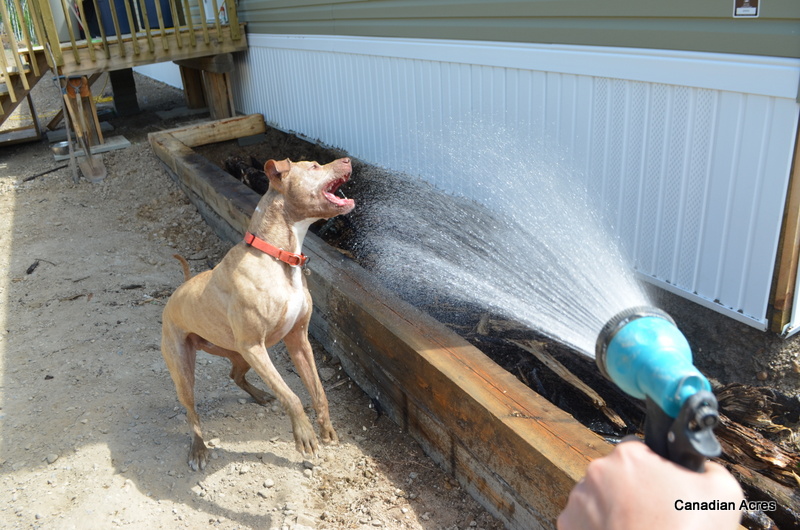
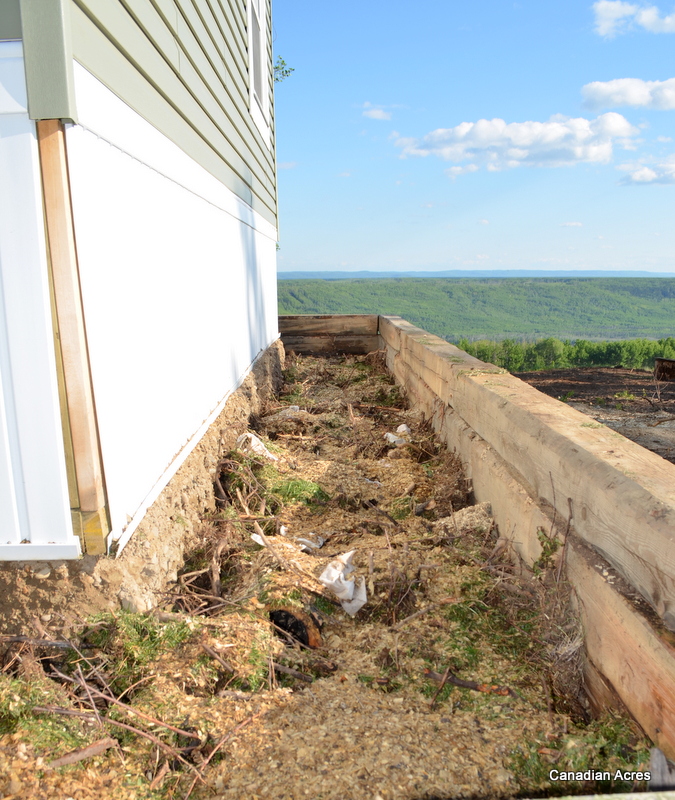
Clay built me a u-shaped flower bed around the west side of the house. This gives me southern, southwest, west, northwest and northern exposure. Plenty of room to experiment with my ever growing knowledge of perennials. Since we started from scratch I thought what the heck, let’s make this interesting.

I spent an entire day with my close friend the wheelbarrow and two supervisors Maynard and Wyatt and went on a rotten-log-collecting-adventure. Sounds fun, right? Well, it was good exercise anyway. I filled up the bottom of my beds with lots and lots of wood. After the large pieces went in, I used all of the willow/stick/root piles we had just finished raking off of our lawn site. It was a nice way to get rid of an ugly mess.

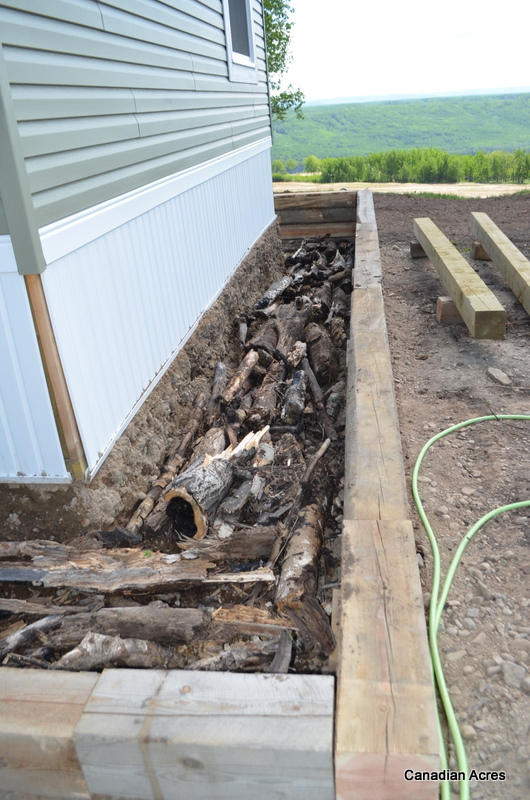


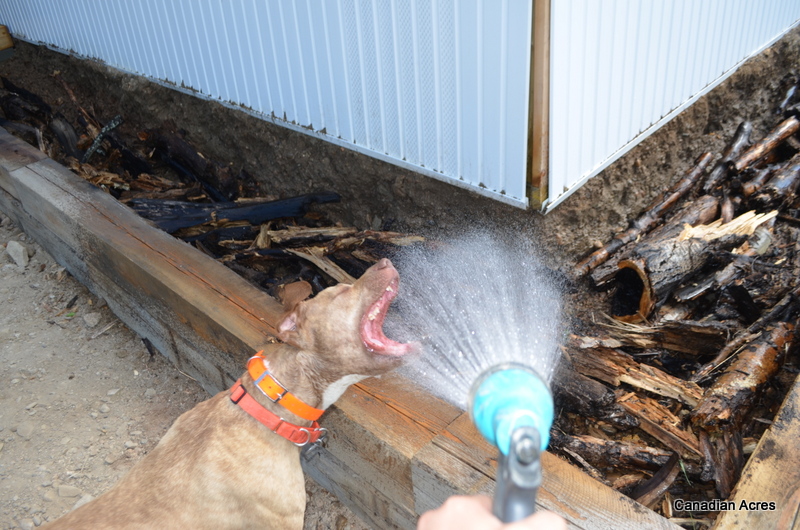
I made sure to wet the ground before piling on the wood, and then gave it a good spray down after that layer was finished. Water helps the decomposition process and makes it nice and comfortable down there. Water from the hose also gives Maynard the crazy eyes as he.loves.that.hose.water.

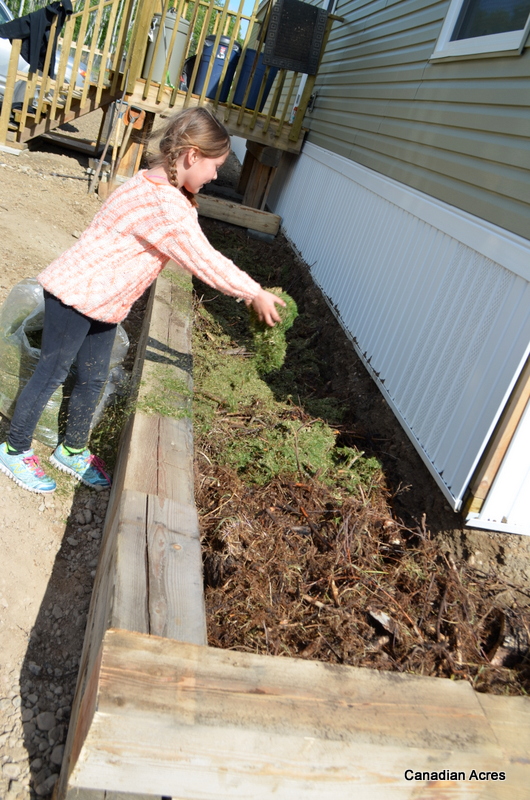
On top of that I had some help to throw on our nitrogen filled goodies. Fresh grass clippings and chicken manure made a fine covering. Then we sprayed that down with the hose as well. Then we sprayed down Maynard with the hose again.
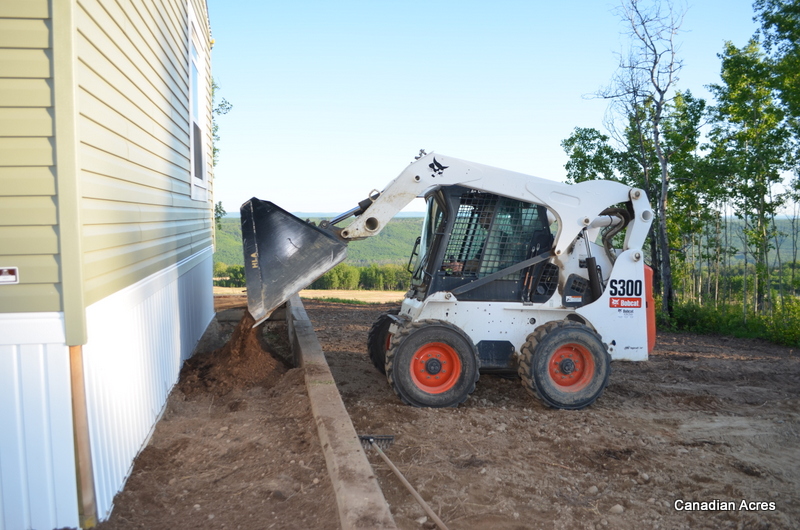
Next, with the help from my husband and our awesome neighbor’s bobcat we borrowed we filled the beds with topsoil. Not fancy screened top soil because that would be expensive, but the topsoil we stripped from our building site last summer. We’re all about cheap around here.
Finally, time to get some plants in there. I’m new to flower gardening and know that I want to eventually have these beds overflowing with wonderful and easy to maintain perennials, so we’ll be working on adding to it through out the summer. I snuck a few dahlia bulbs in for good luck. Most hugelkultur beds do better in the 2nd and 3rd years, but so far, so good!


Now to figure out how to do some larger scaled “hills” for the actual garden site. Our work is never done.
What do you think, will it work or does it all sound like mumbo jumbo? Only time will tell 🙂
Cheers to at least finishing one more project~
~Katy
Chicken Mania
Well, it’s official. I have a fever and the only prescription is more chickens…
Just kidding… kind of.
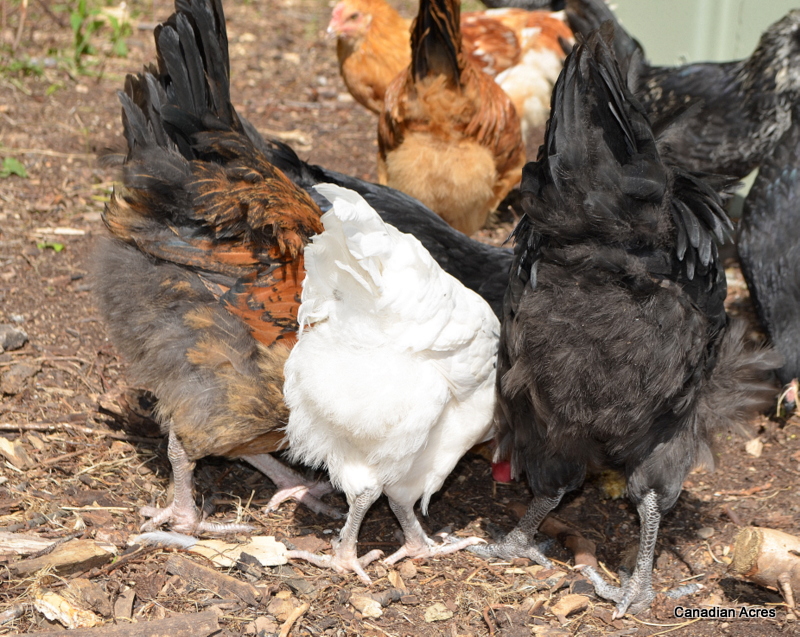
The easter eggers and olive eggers are enjoying their new home in the coop and the outdoor run. The only problem we’ve encountered is a daily chipmunk raid, but Dick the rooster is taking his job very seriously and on full guard. The ladies seem very interested in chasing the buggers out of their coop.
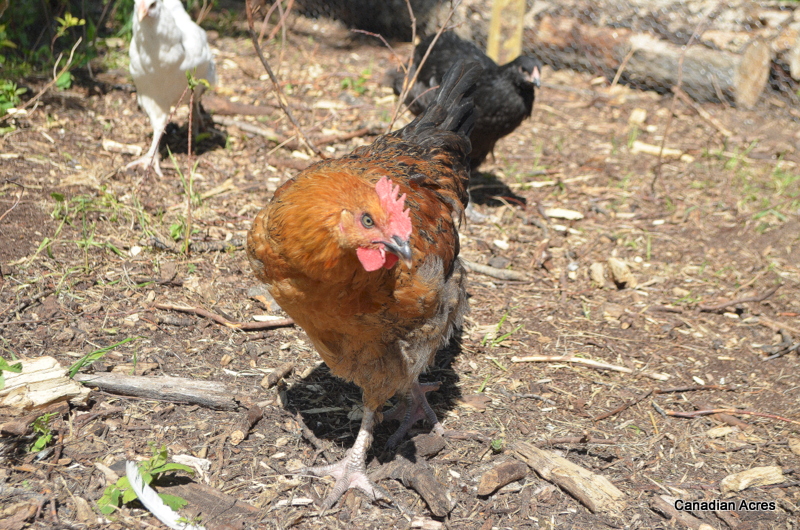
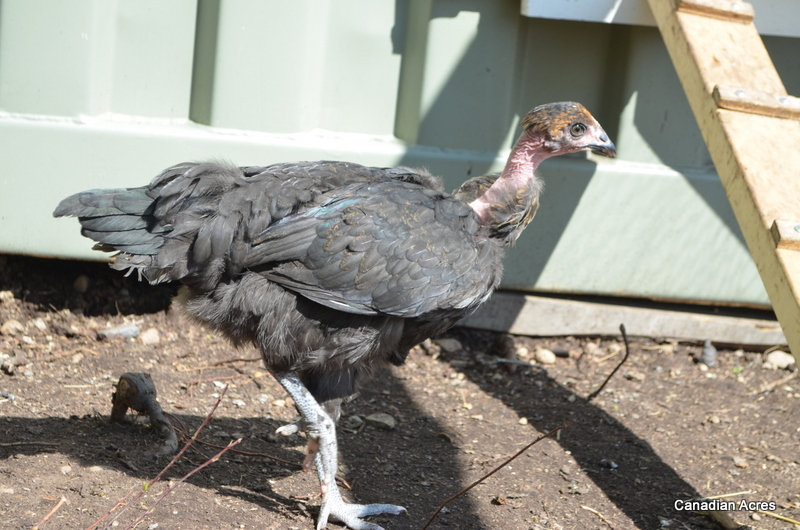
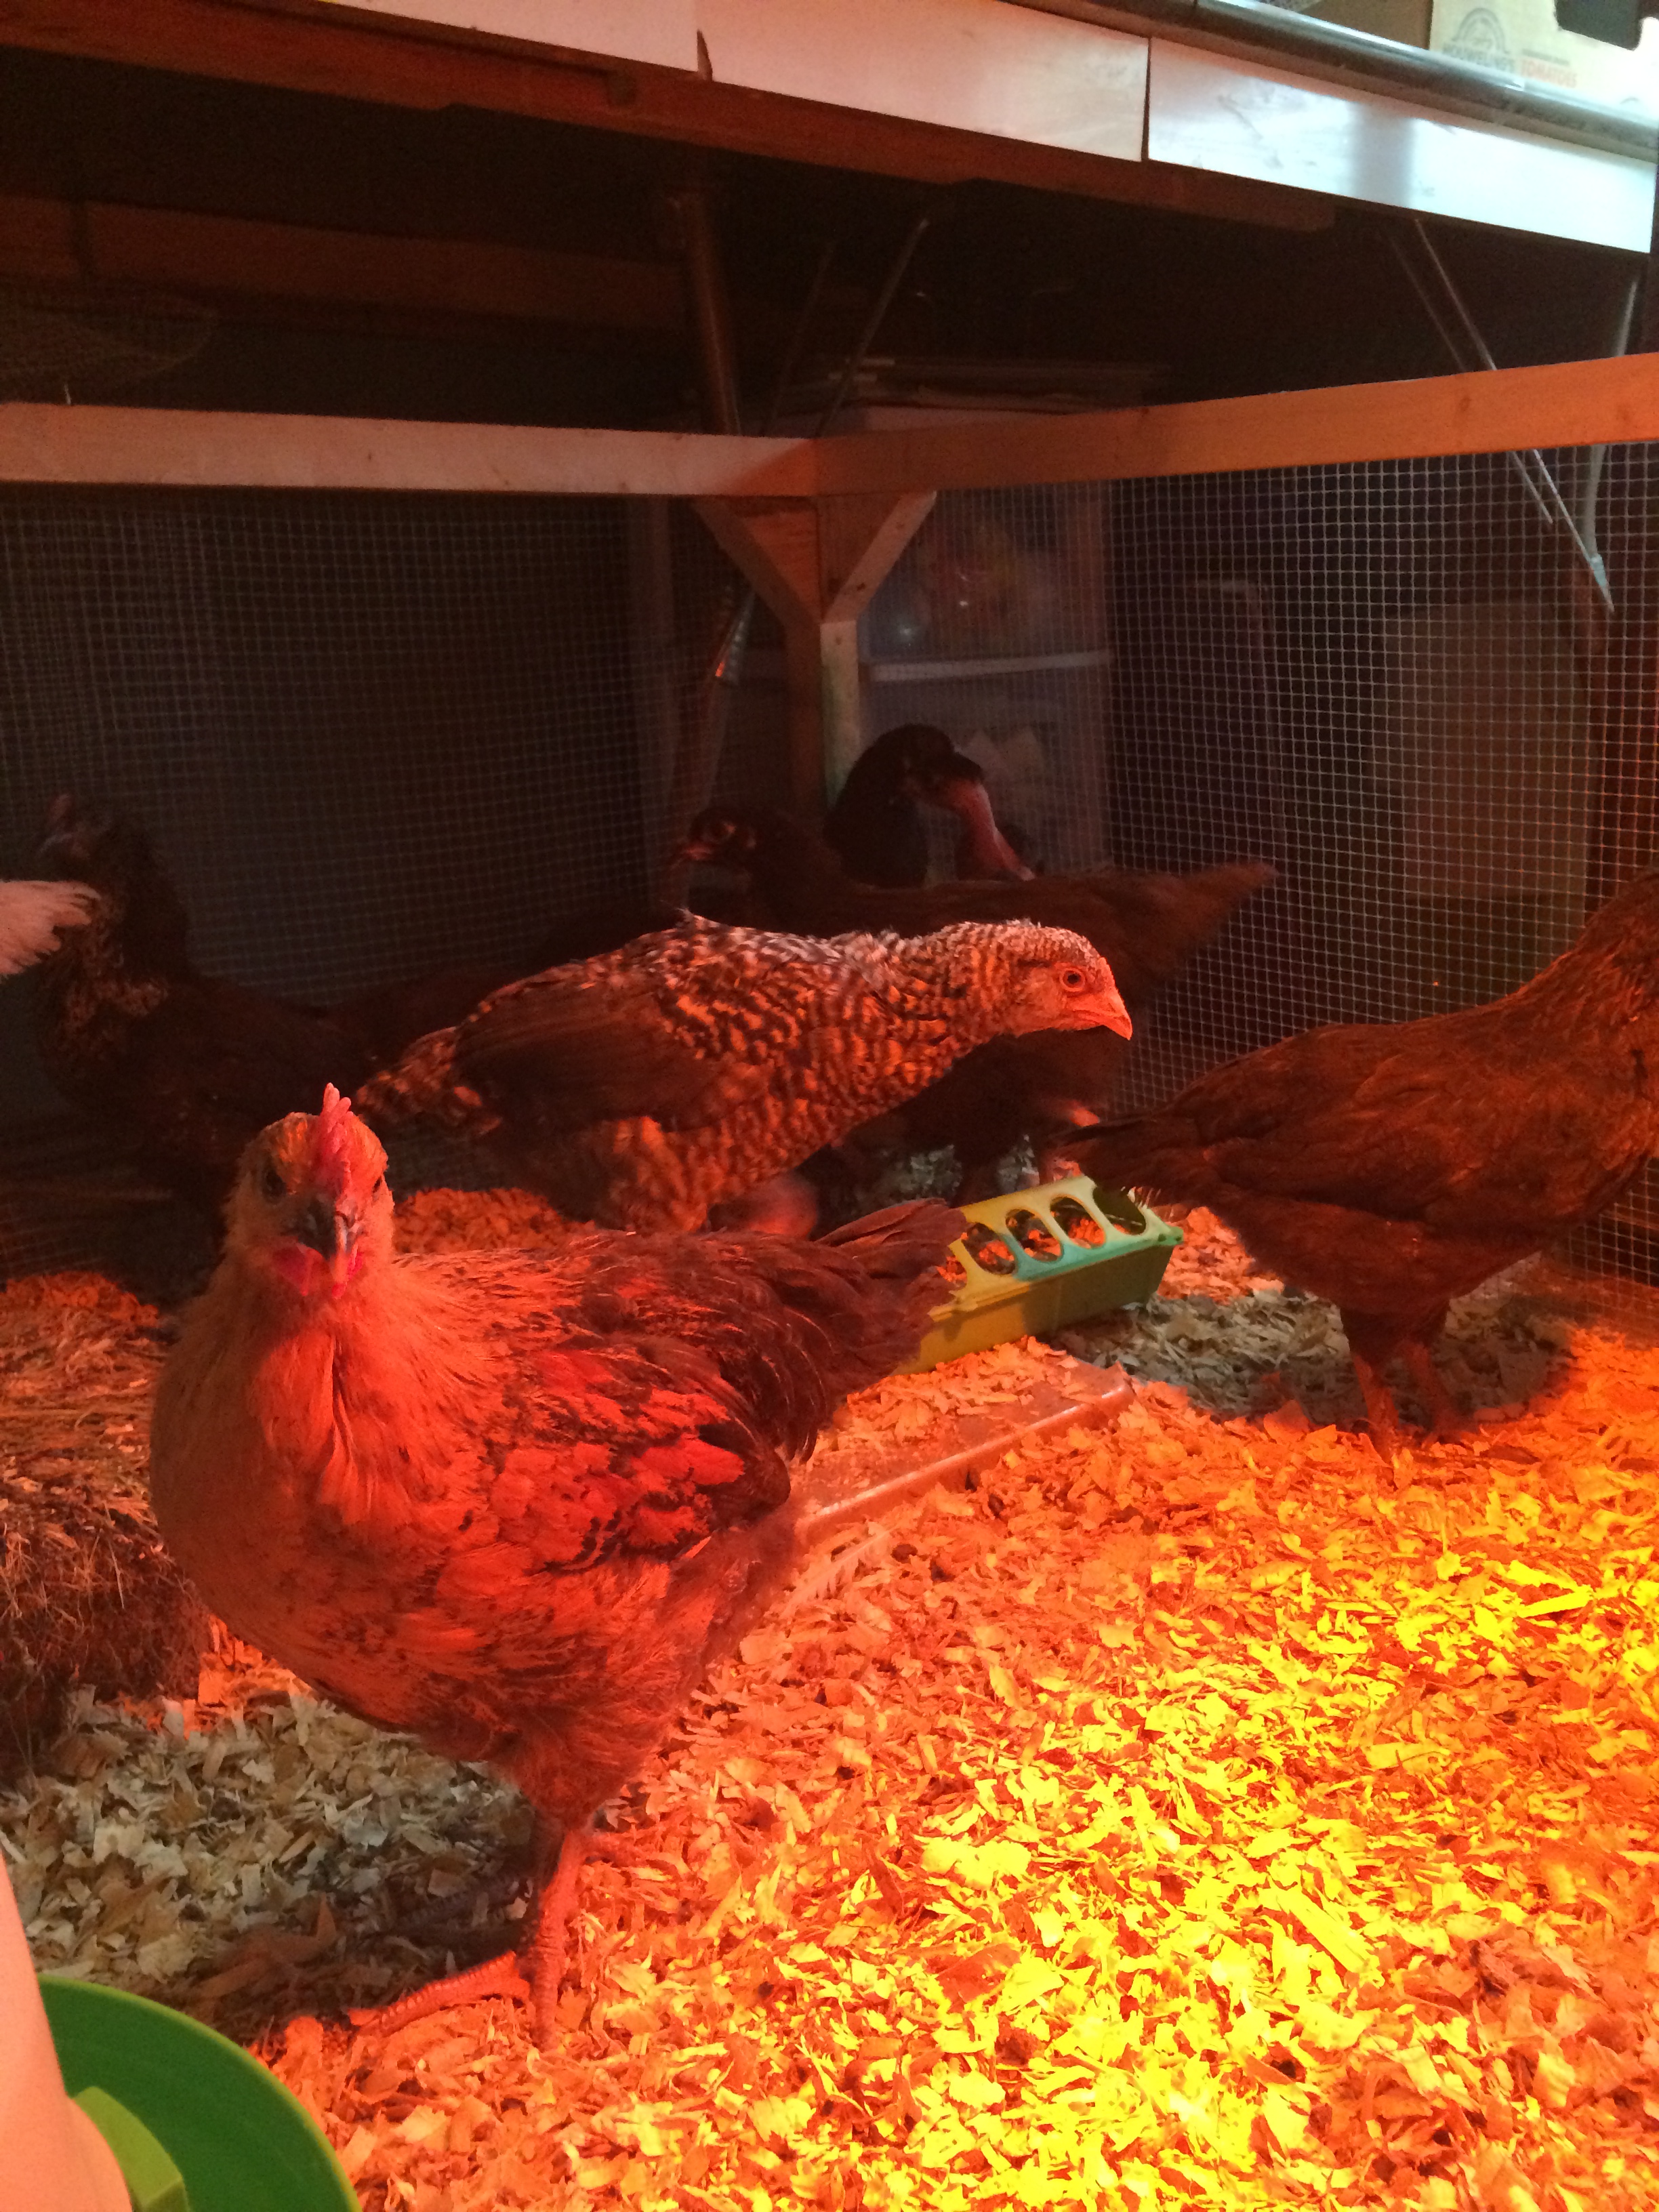
The coop is proving to be a well insulated home for the flock. Their peeps are slowly turning into clucks and I must say, they are growing into some beautiful chickens.

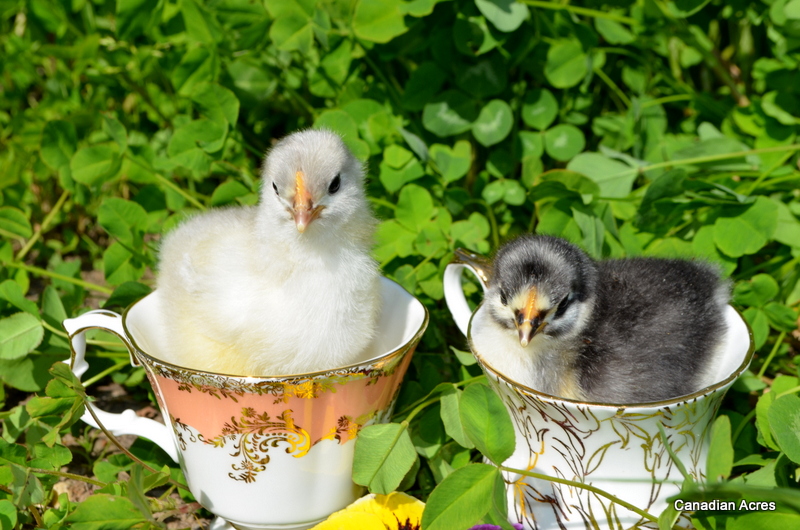
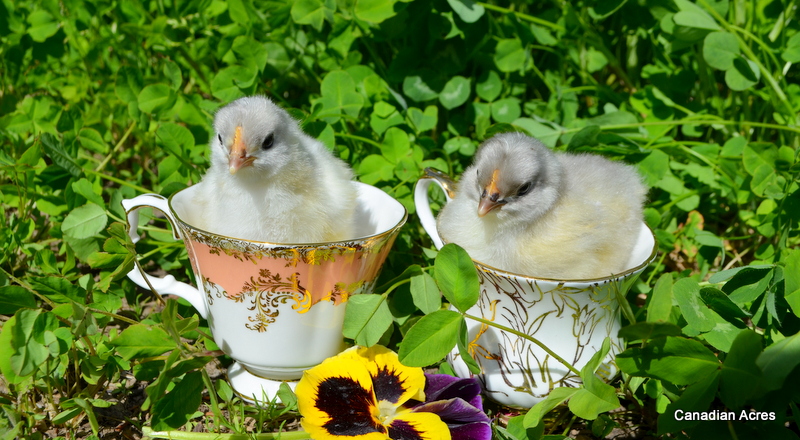
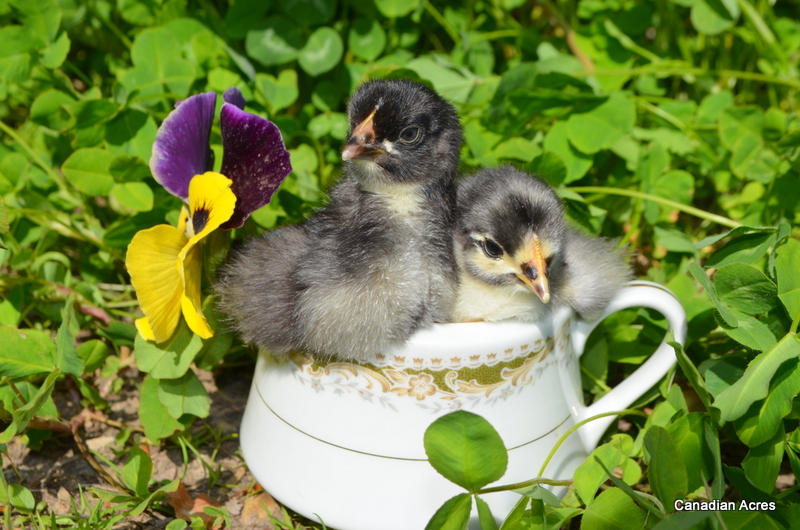
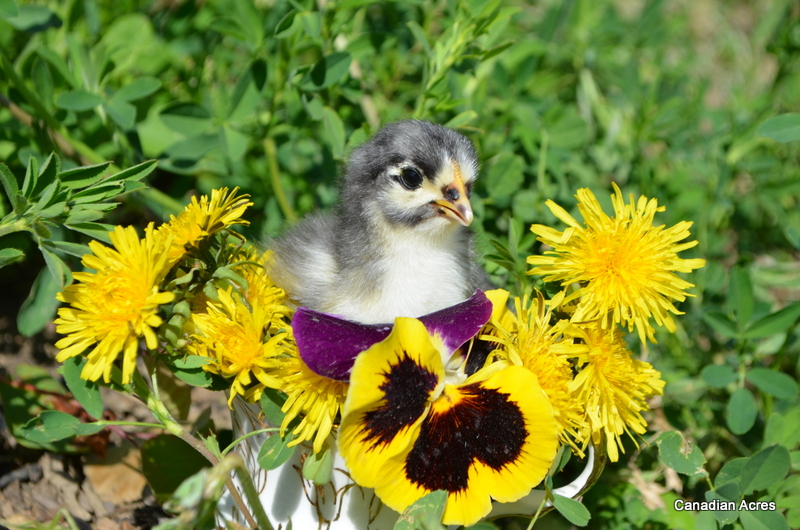
And I don’t even have to miss the peeps as we have 12 new littles to eventually add to the gang. I picked up 12 black/blue/splash orpington chicks from our chicken lady at Copious Keep Heritage Farm down the road. I’ve just fallen in love with my birds and I would highly recommend them as your chicken and duck hook up in northern British Columbia. I’m already dreaming of getting a pair of Ancona ducks for my garden next year (please Clay, pretty please).
So, since I have so much time on my hands I decided to do a fun little photo shoot with my baby chicks. Yep, this is my life now. But come on, how cute are they!
There is much to do in the following weeks before company arrives. Finishing the coop, flower beds, lawn, etc. Photos from the week to come soon.
And…Wyatt just chased a black bear out of the yard, so it’s time to go! Have a great week everybody~
~Katy
DIY Pallet Compost Bins

Well, another week has rushed by and we find ourselves faced with the weekend. This was (another) busy week and we finally finished a few looming projects on our list.
Yesterday I took the time to build myself that DIY pallet compost bin I’d been after, and I was pleasantly surprised by a) how awesome of a job I did, and b) how little time it took.
Since becoming homesteaders, it is hard to be wasteful as we try to beg, borrow, up-cycle and reuse most everything we can. When it came to kitchen waste, it was always a sad moment to throw it out as I know how healthy it would eventually be for my soil. I’d always wanted a compost bin, but alas, since it’s gone trendy, commercial made ones are expensive and it’s kind of hard to get one going in -20 temperatures.
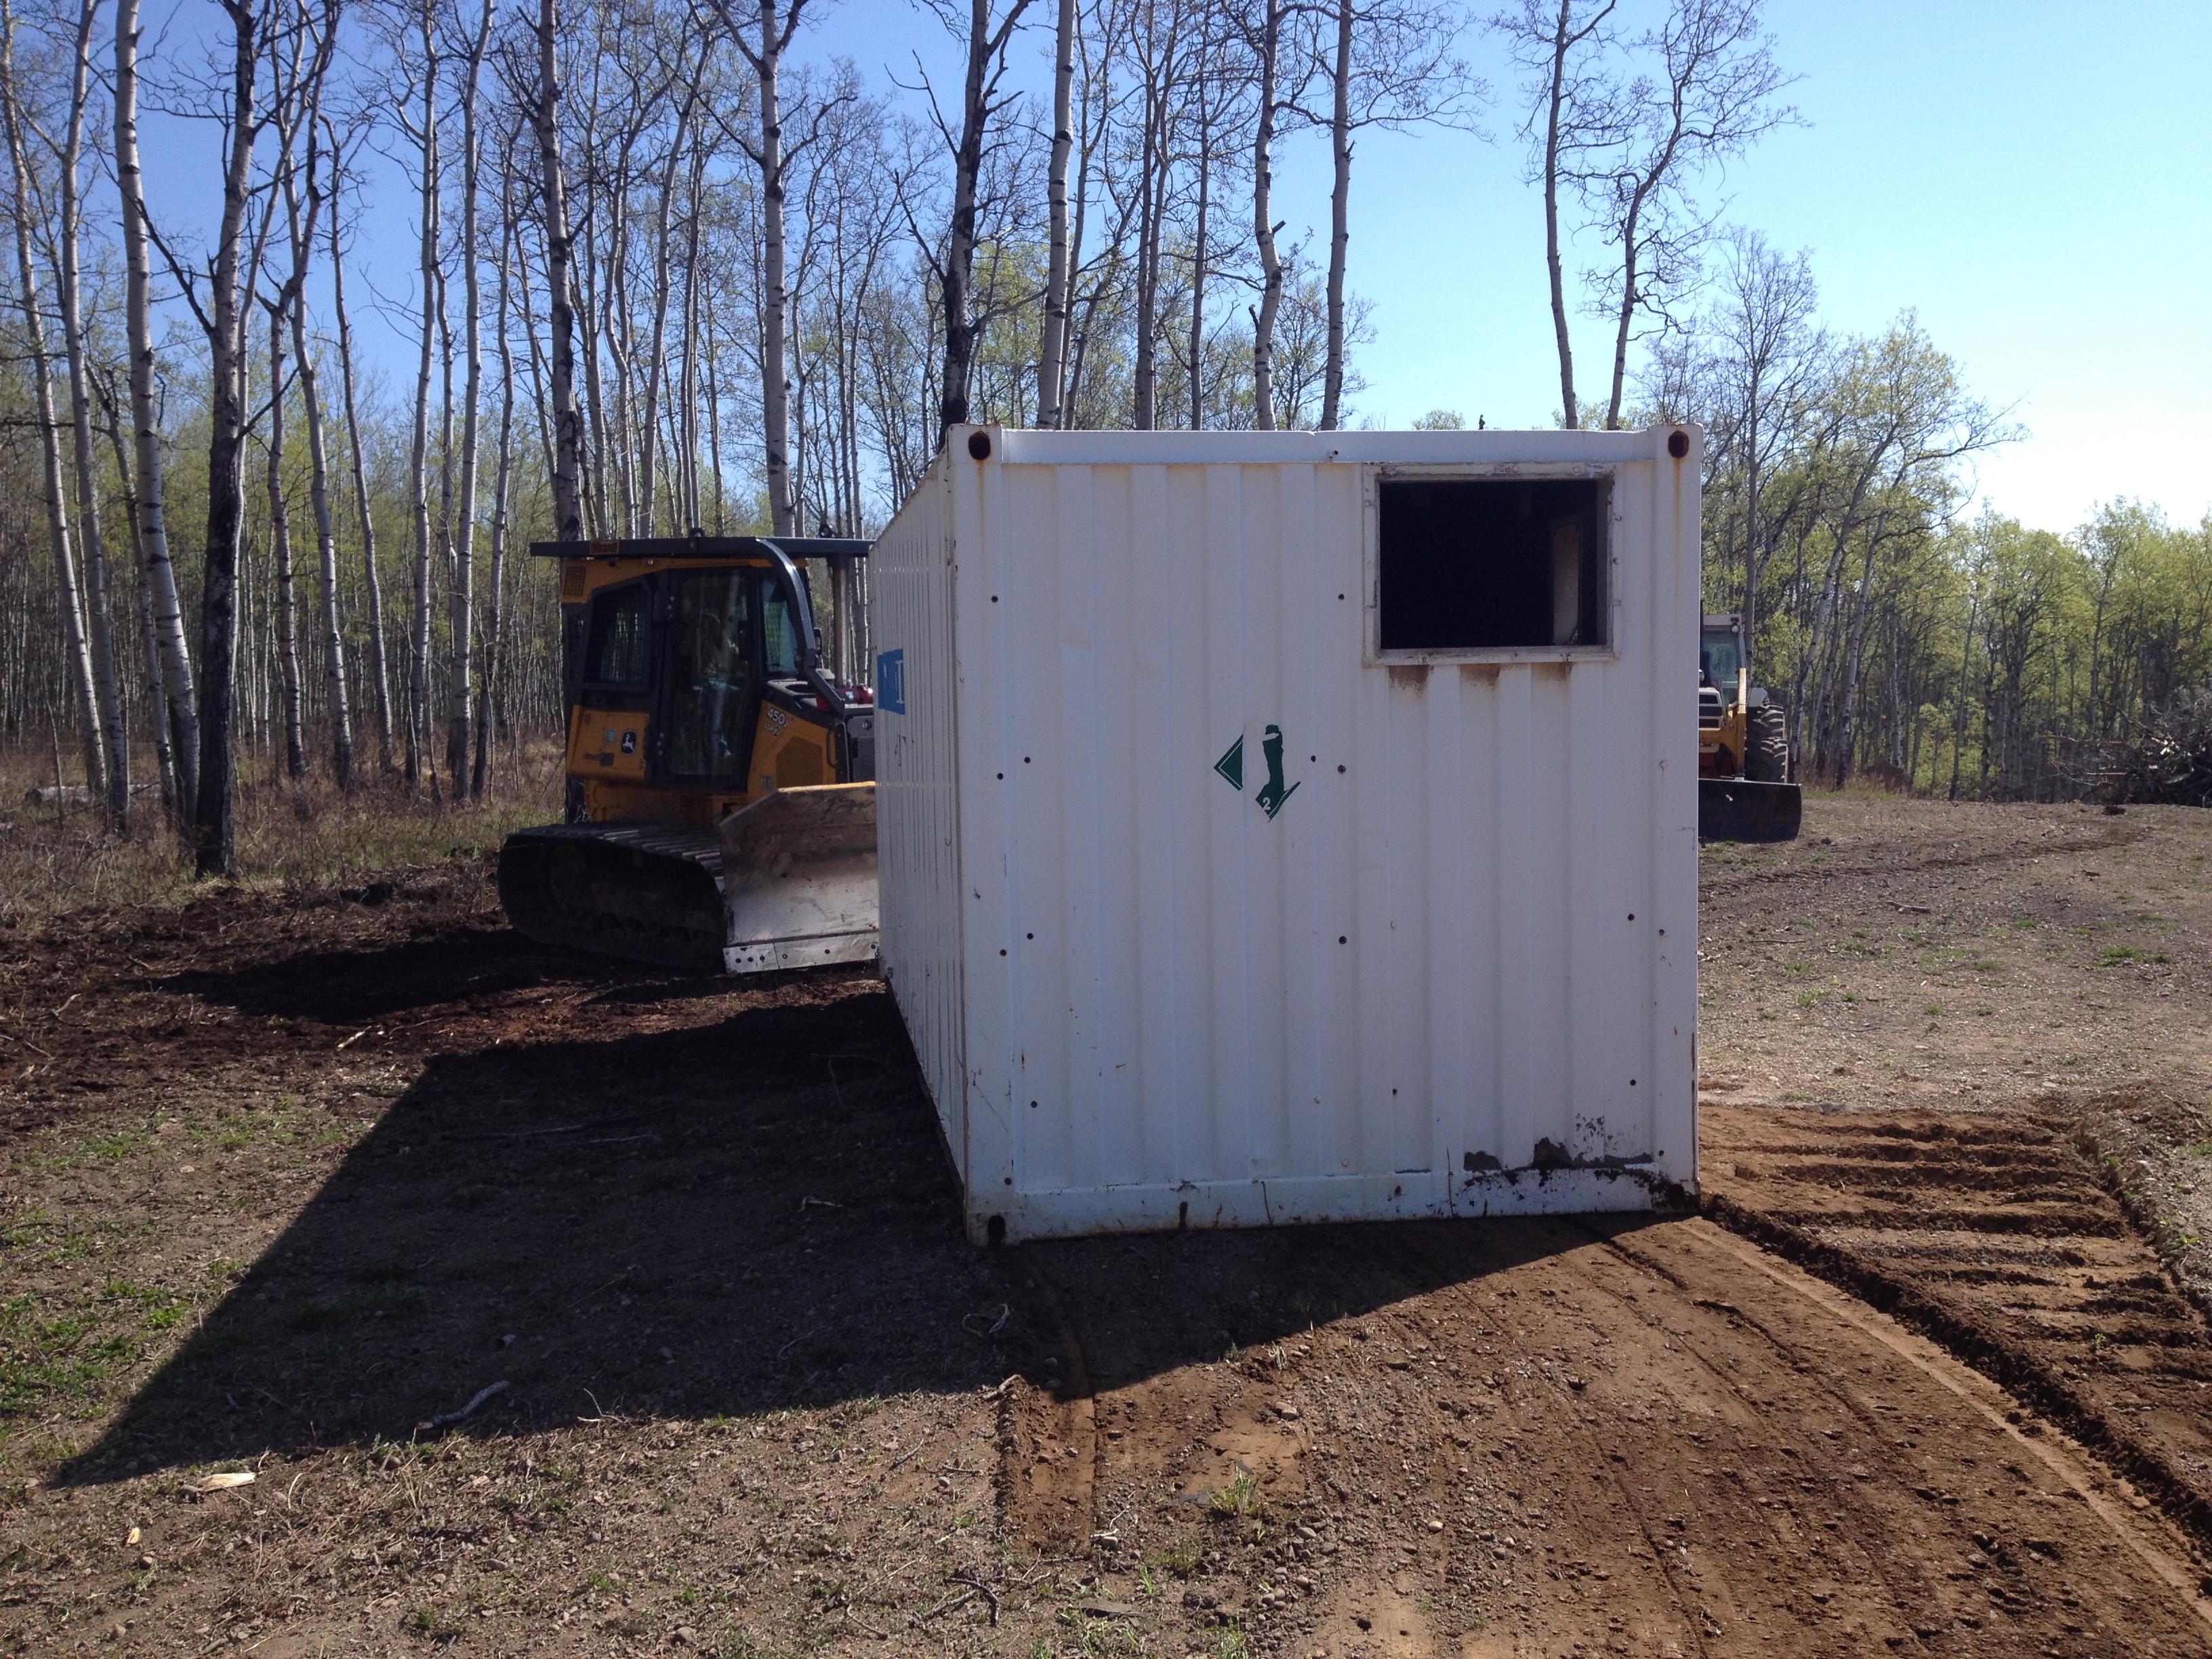
But yesterday was the day! I had my spot picked out since we moved the chicken coop in, and figured behind the sea can would keep it out of sight (and the mind and belly of my goat-dog, Wyatt). I did some research on the online (you have to say that with a southern accent) and wanted something cheap, easy and goat-dog proof.

Side note: Wyatt was dubbed goat-dog because he eats anything and everything and ate through a tin can to get to food once… yep.

Anyway, I found this great tutorial on One Hundred Dollars a Month‘s blog and ventured out to build my very own pallet compost bins.
First, I had Clay bring home some pallets. I requested 5 pallets and we already had one large, long pallet I propped up against the coop for the back of the compost bin. I added two support stakes to hold it in place. I decided to make two separate bins as I had enough room and am pretty sure we’ll fill these puppies up fast.
I then laid out my first two pallets, making sure to line up the outsides so I could add hinges and a latch. My instructions were to take 14 gauge wire and tie the pallets together. Well, we had 18 gauge wire on hand, and it worked just fine. I twisted the wire around the two pallets, binding them together, and did the same in two other spots for each attached piece. It was starting to come together!


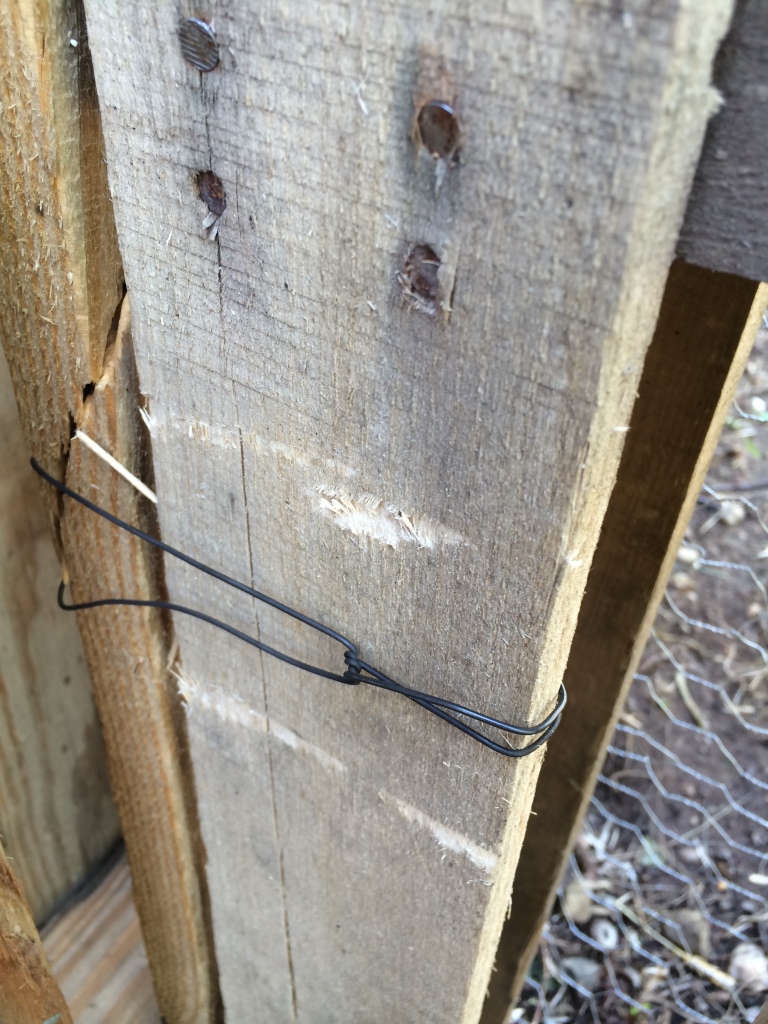
After binding all of the pallets together, I added the hinges and attached each pallet “door”. Again, pretty easy stuff. Well, then I tried to open the door. It was a little wobbly. Apparently the wire wasn’t going to cut it alone. I took some 3″ and 4″ screws to help secure the pallets together and it made all the difference.


Once the hinges were on and the doors were attached, I added two latches, you know, to keep out the goat-dog.

And… Voila! We are in composting business here at the farm. Total time was about 35 minutes… 30 minutes to construct and 5 minutes to shoo away all of my “supervisors”.


Cheers to happy, healthy soil soon!
~Katy
The Month of May
Hello all,
My oh my, how time flies when you are working working working having fun! The month of May has been full of sunshine, laughter and hard work. Summer is off to a wonderful start and we are busier than ever.

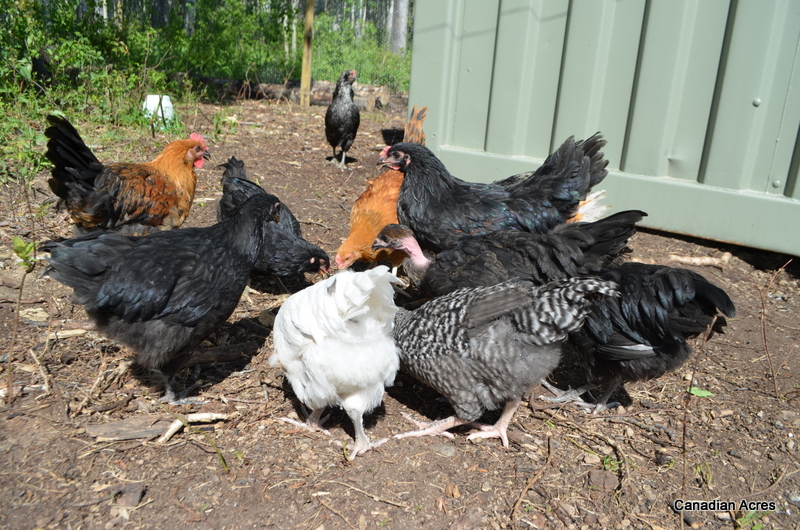
The chickens finally (FINALLY!) moved out of the house and are loving their new coop. They aren’t 100% sure on how and when to get in and out to enjoy their outdoor run, but we are working on it. Once they do get outside, they are happy and so funny to watch. Group dust bathing is my favorite activity. I finished painting the exterior and am working on some final touches before I post photos (alas, my work never seems to be done). One thing I’ve learned is that when you finish one project, there are 10+ more added to the list.


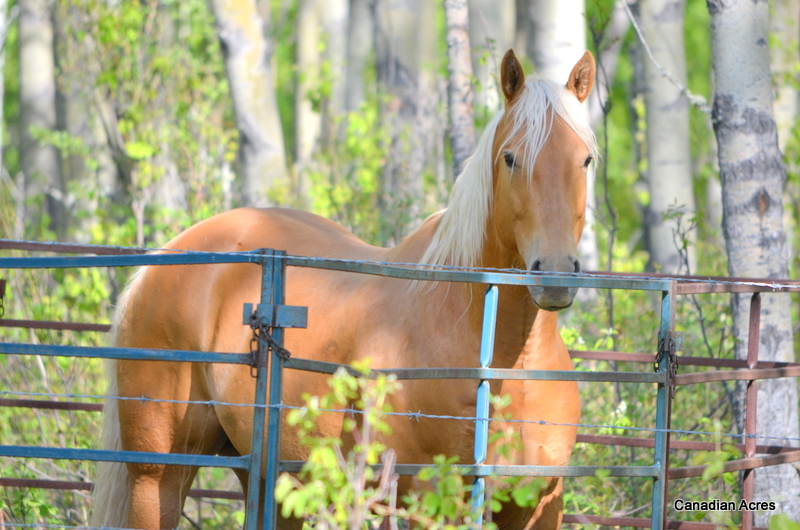
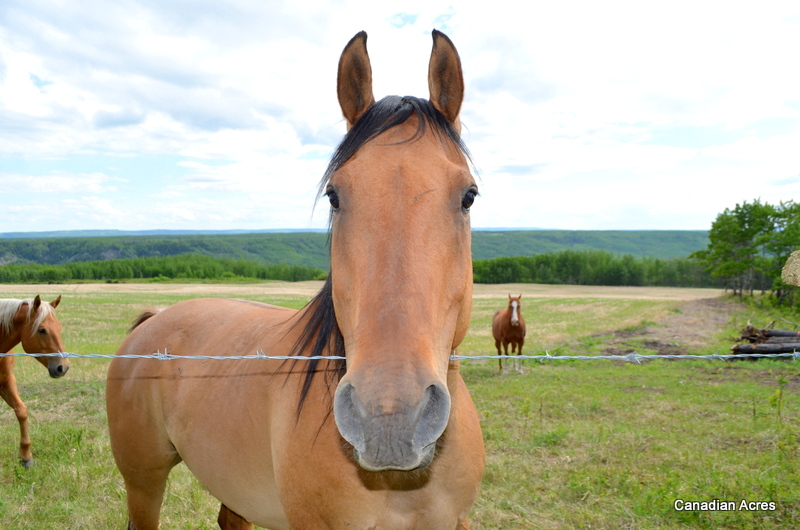
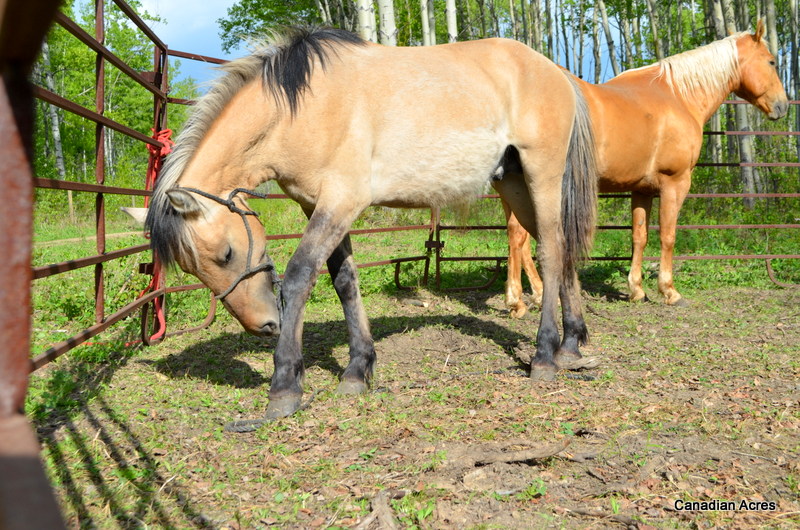
My father-in-law Timber finished the fencing for the horses a few weeks ago and literally the day after it was done, horses started to arrive at Canadian Acres. I guess it is true, if you build it, they will come. Clay’s Aunt and Uncle graciously let us borrow two riding horses as they needed some miles put on them. Their names are Ranger and Rover and they are such dolls. Maynard just loves to give them kisses. Clay and I went riding one rainy evening and explored the property on horseback… what an amazing feeling to actually do something you’ve dreamed of since the beginning. A few days later, some friends dropped off their horses to stay for the summer, and a few days after that, our new range stud showed up with Timber’s new horse… I’m in horse heaven!

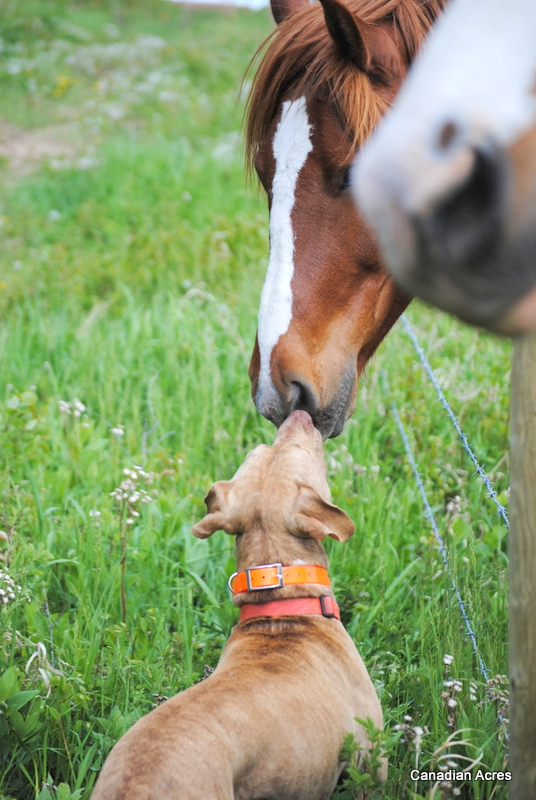
Photo credit: Tyler Chamberlin

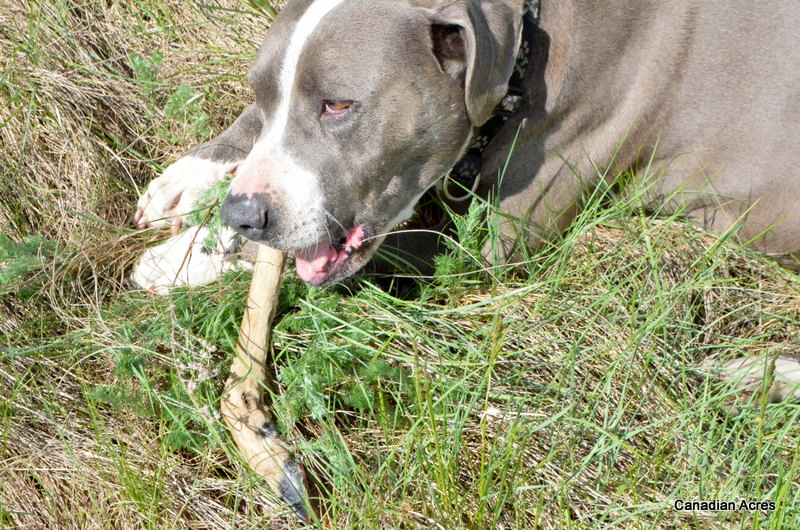
Apparently, so is Wyatt. He’s been trampled only once (the very first meeting), but comes close to it almost daily. He’s also learned a new trick called rolling-in-fresh-horse-poop-so-Mom-can-bath-me-with-the-hose-daily. This new habit is in battle for “best things Wyatt does” with finding random animal parts to chew on. Oh what fun to be had. Life as a farm dog is pretty tough.

The new range stud is so adorable and sweet I’m not sure I can keep him “wild” enough until he has to go to his new job with the wild horses across the river. He’s only a yearling, so he has some time to grow into it. He came without a name and I’m pretty sure he’s a Thor. What do you think? He’s a Percheron Fjord cross and has lovely coloring and markings. Did I mention I’m in love?

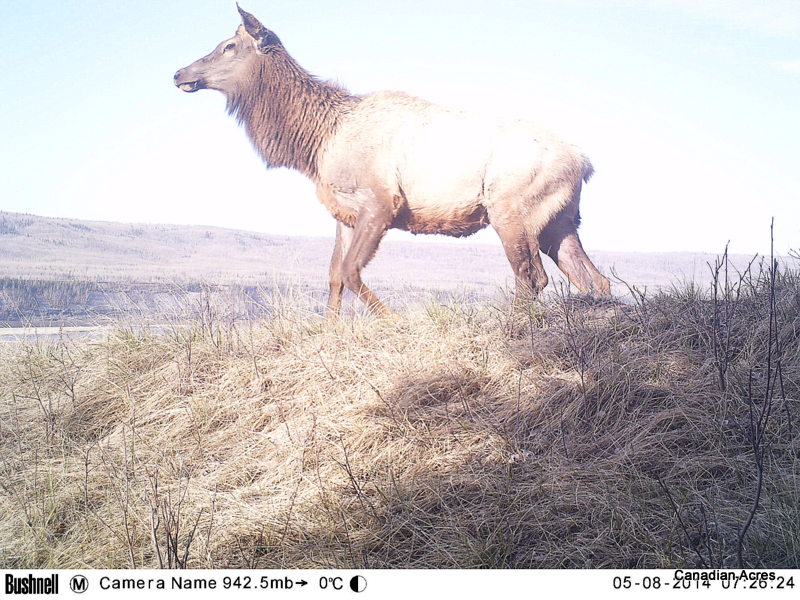
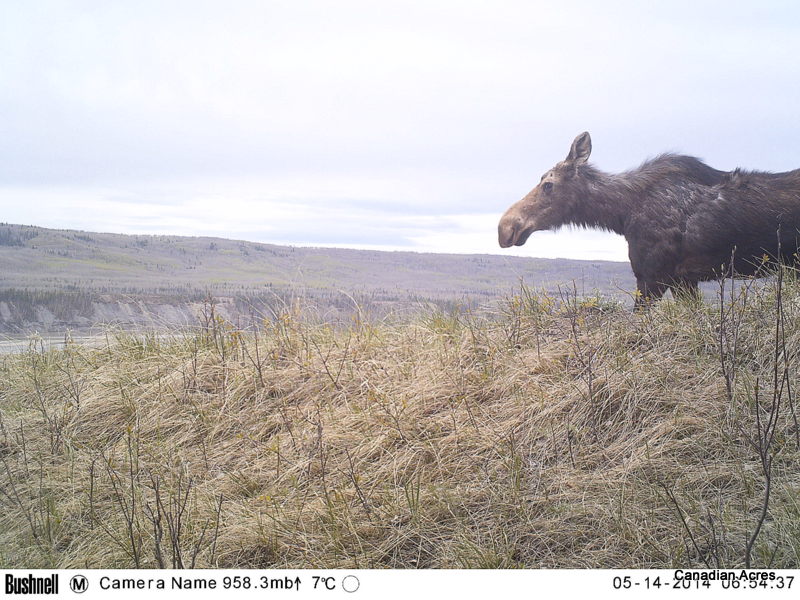
Yesterday I finally took a moment (in between building my hugelkultur flower bed and finishing painting the power shed…what can I say, I’m an excellent multitasker) to hike down to our game cam and grab the photos. It’s been un-checked for about a month and I was anxious to see what summer would bring to our game highway. Apparently, a lot of things! Lots of elk and deer, a moose, a coyote, a dirt biker (hmmmm… they must have missed our blatant No Trespassing signs), a porcupine and a gorgeous but wily looking wolf. What a very busy month it has been.

Today is cold and rainy/snowy so we are taking some time to organize our indoor lives since that seems to get ignored when the weather is nice. I am excited to get some plants planted and work on the landscaping as we have company coming at the end of the month. Looks like life won’t be slowing down any time soon – proof that the homesteading life fits us just right.
Here’s hoping your summers are all off to a busy and beautiful start, and if you get a chance, lounge in the sun for me!
~Katy
Are we having fun yet?
Things have been a little busy around these parts. We got home from vacation and all hell broke loose. Apparently the lack of snow brings the over abundance of farm work to be done.
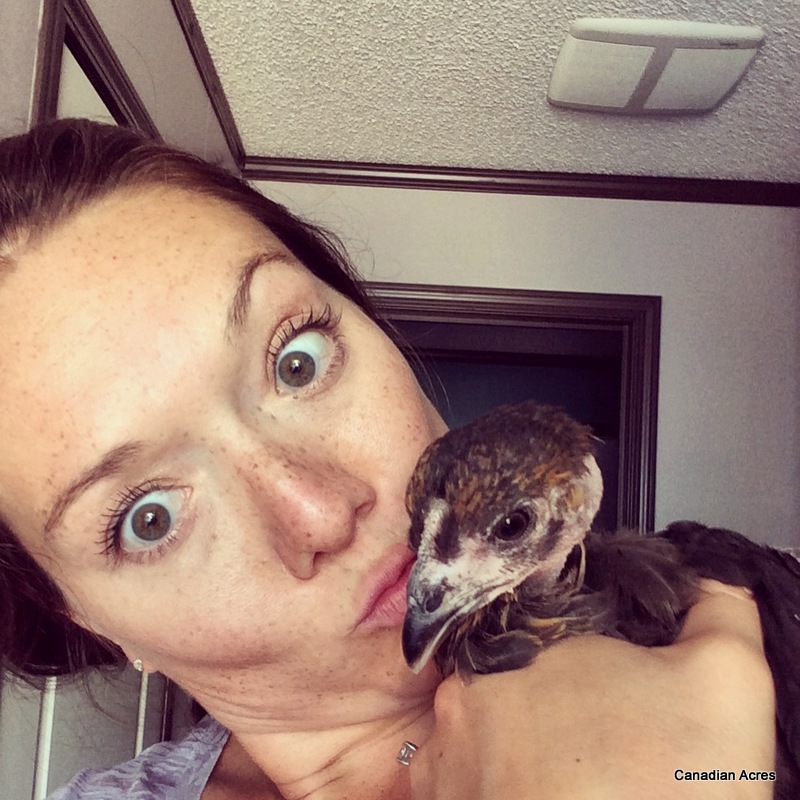
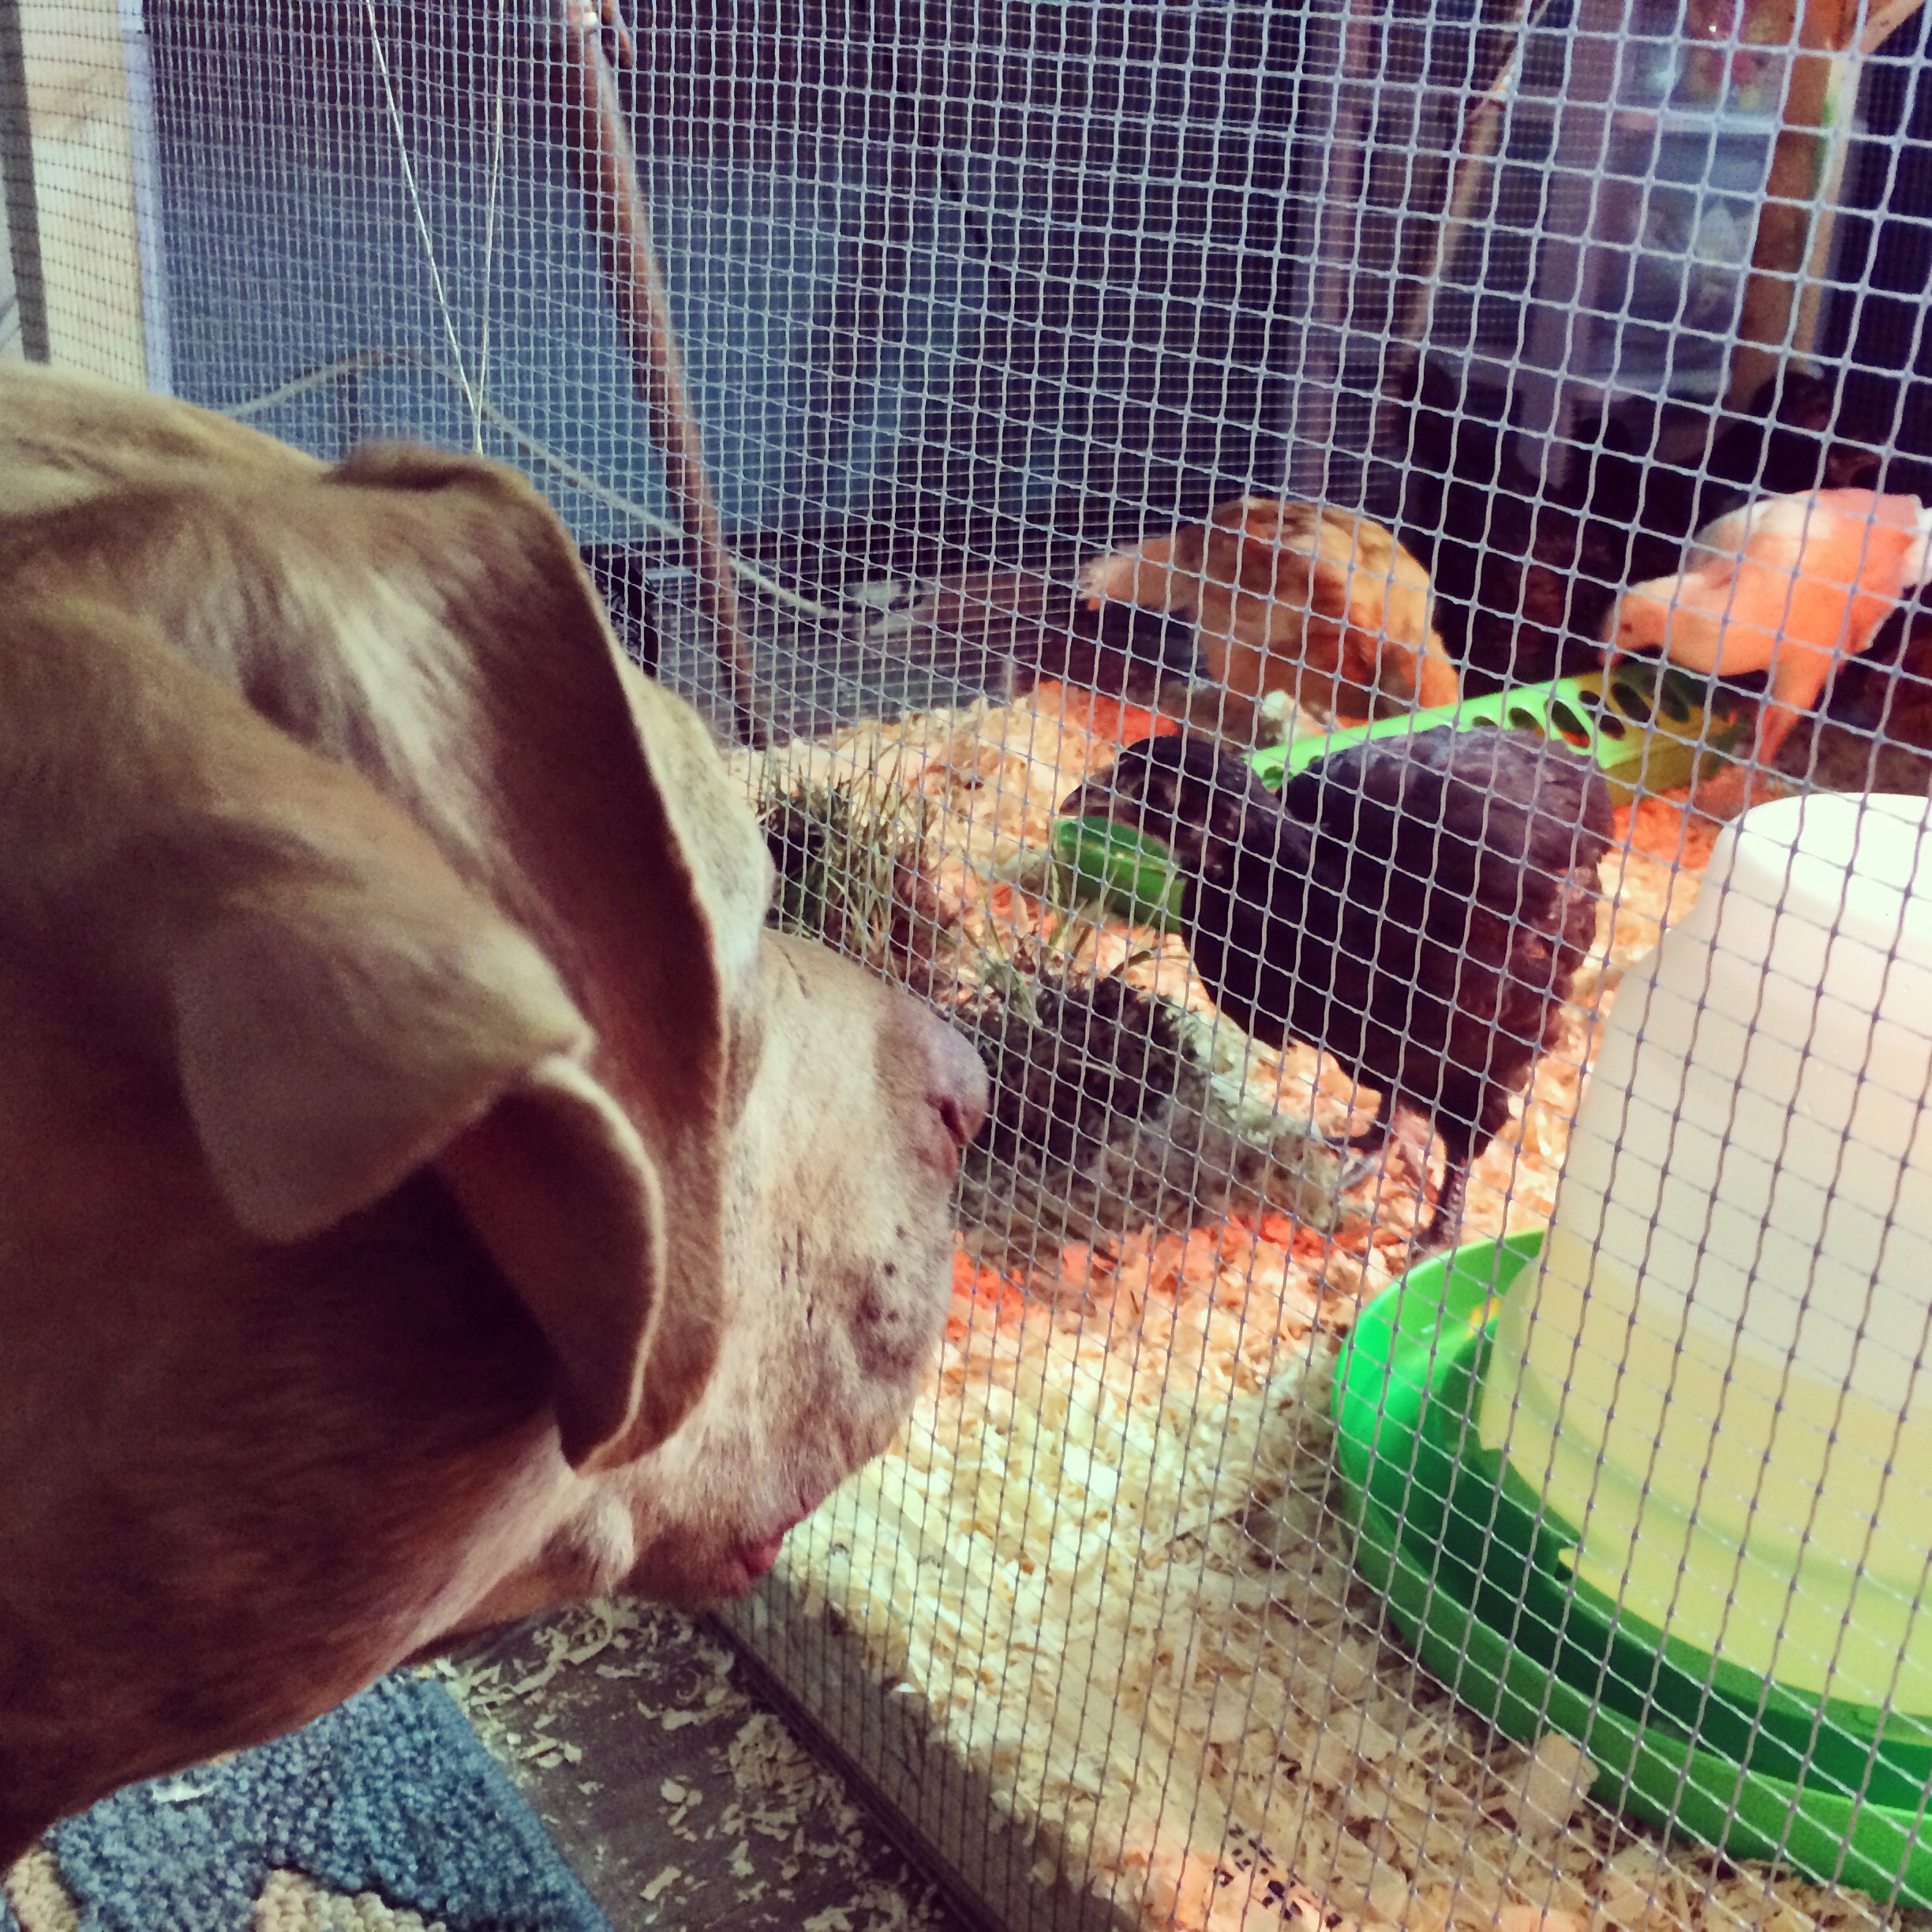
The chickens are growing fast and will be 8 weeks (8 weeks!!) this coming Wednesday. Yesterday I awoke to my very first “crow” attempt which had the dogs in a tizzy – a sure sign that the freaking chickens need to get out of my house. They are adorable, yes. But messy and stinky and loud. The dogs think they are the greatest things and wait with their noses below the door on a regular basis. We have been working on Dog Chicken Relations every day, so I am hopeful that we may have a few Livestock Guard Dog’s on our hands after all not have to deal with a massacre right off the bat.

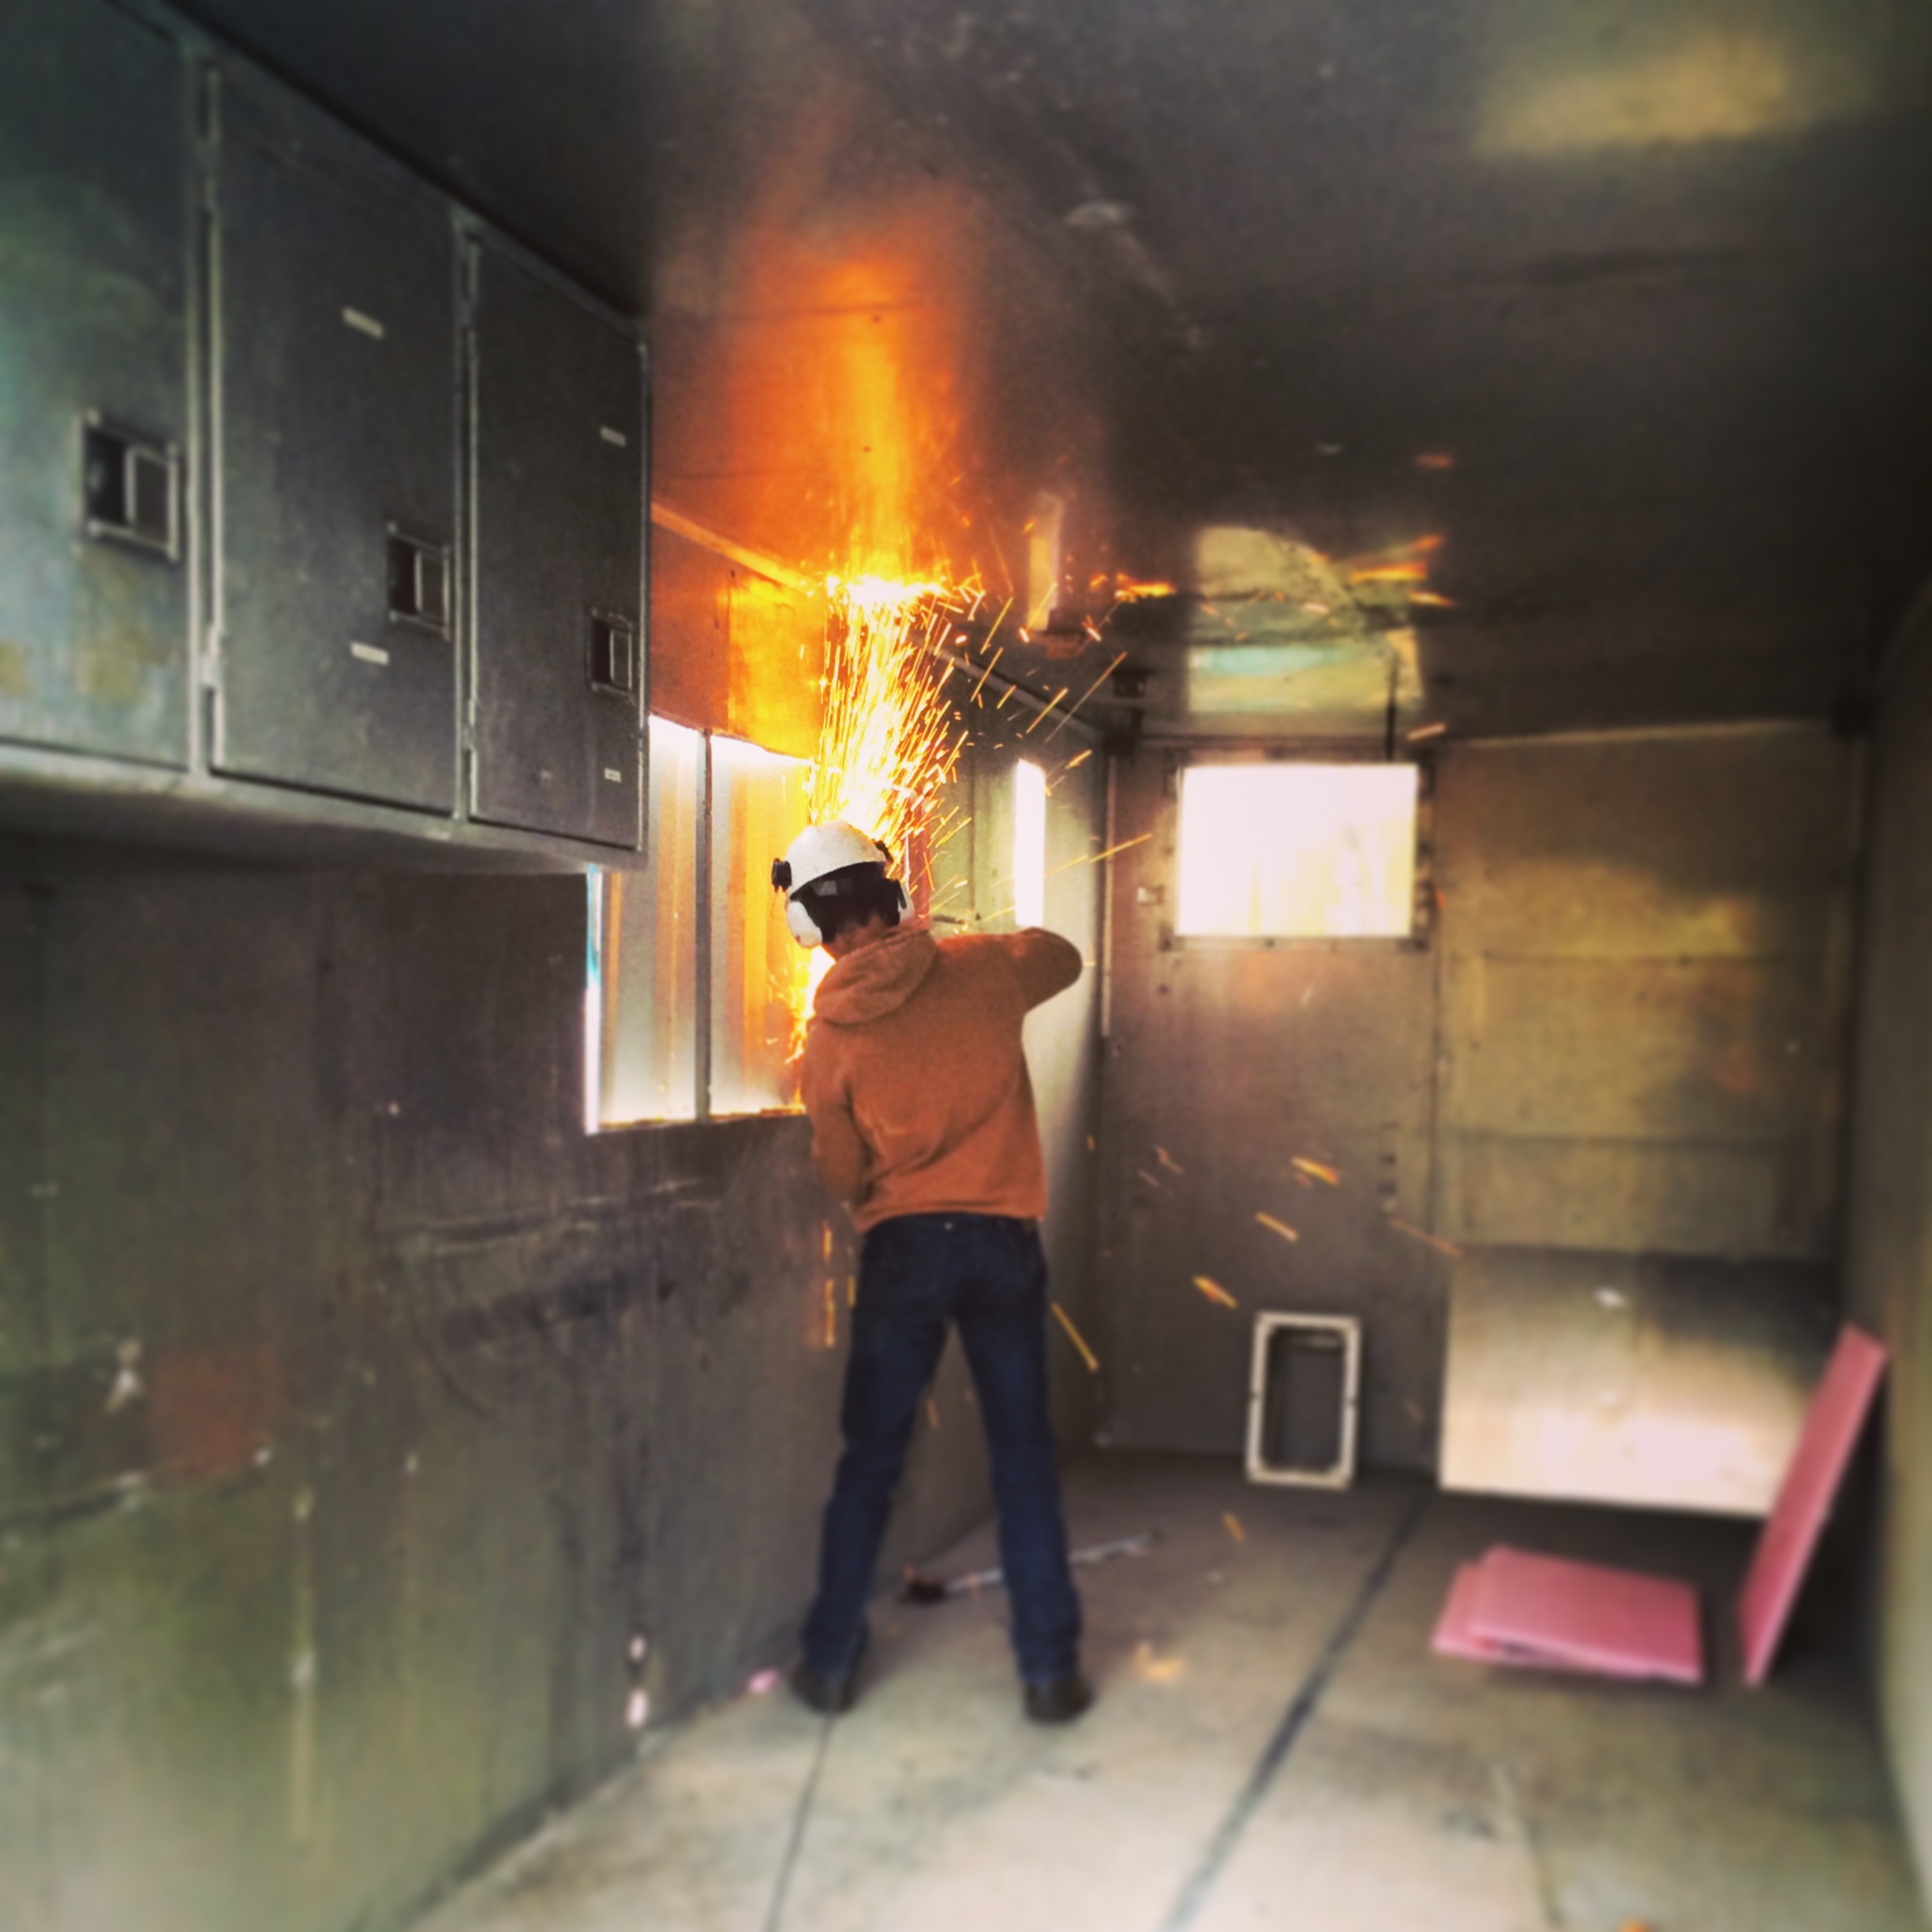
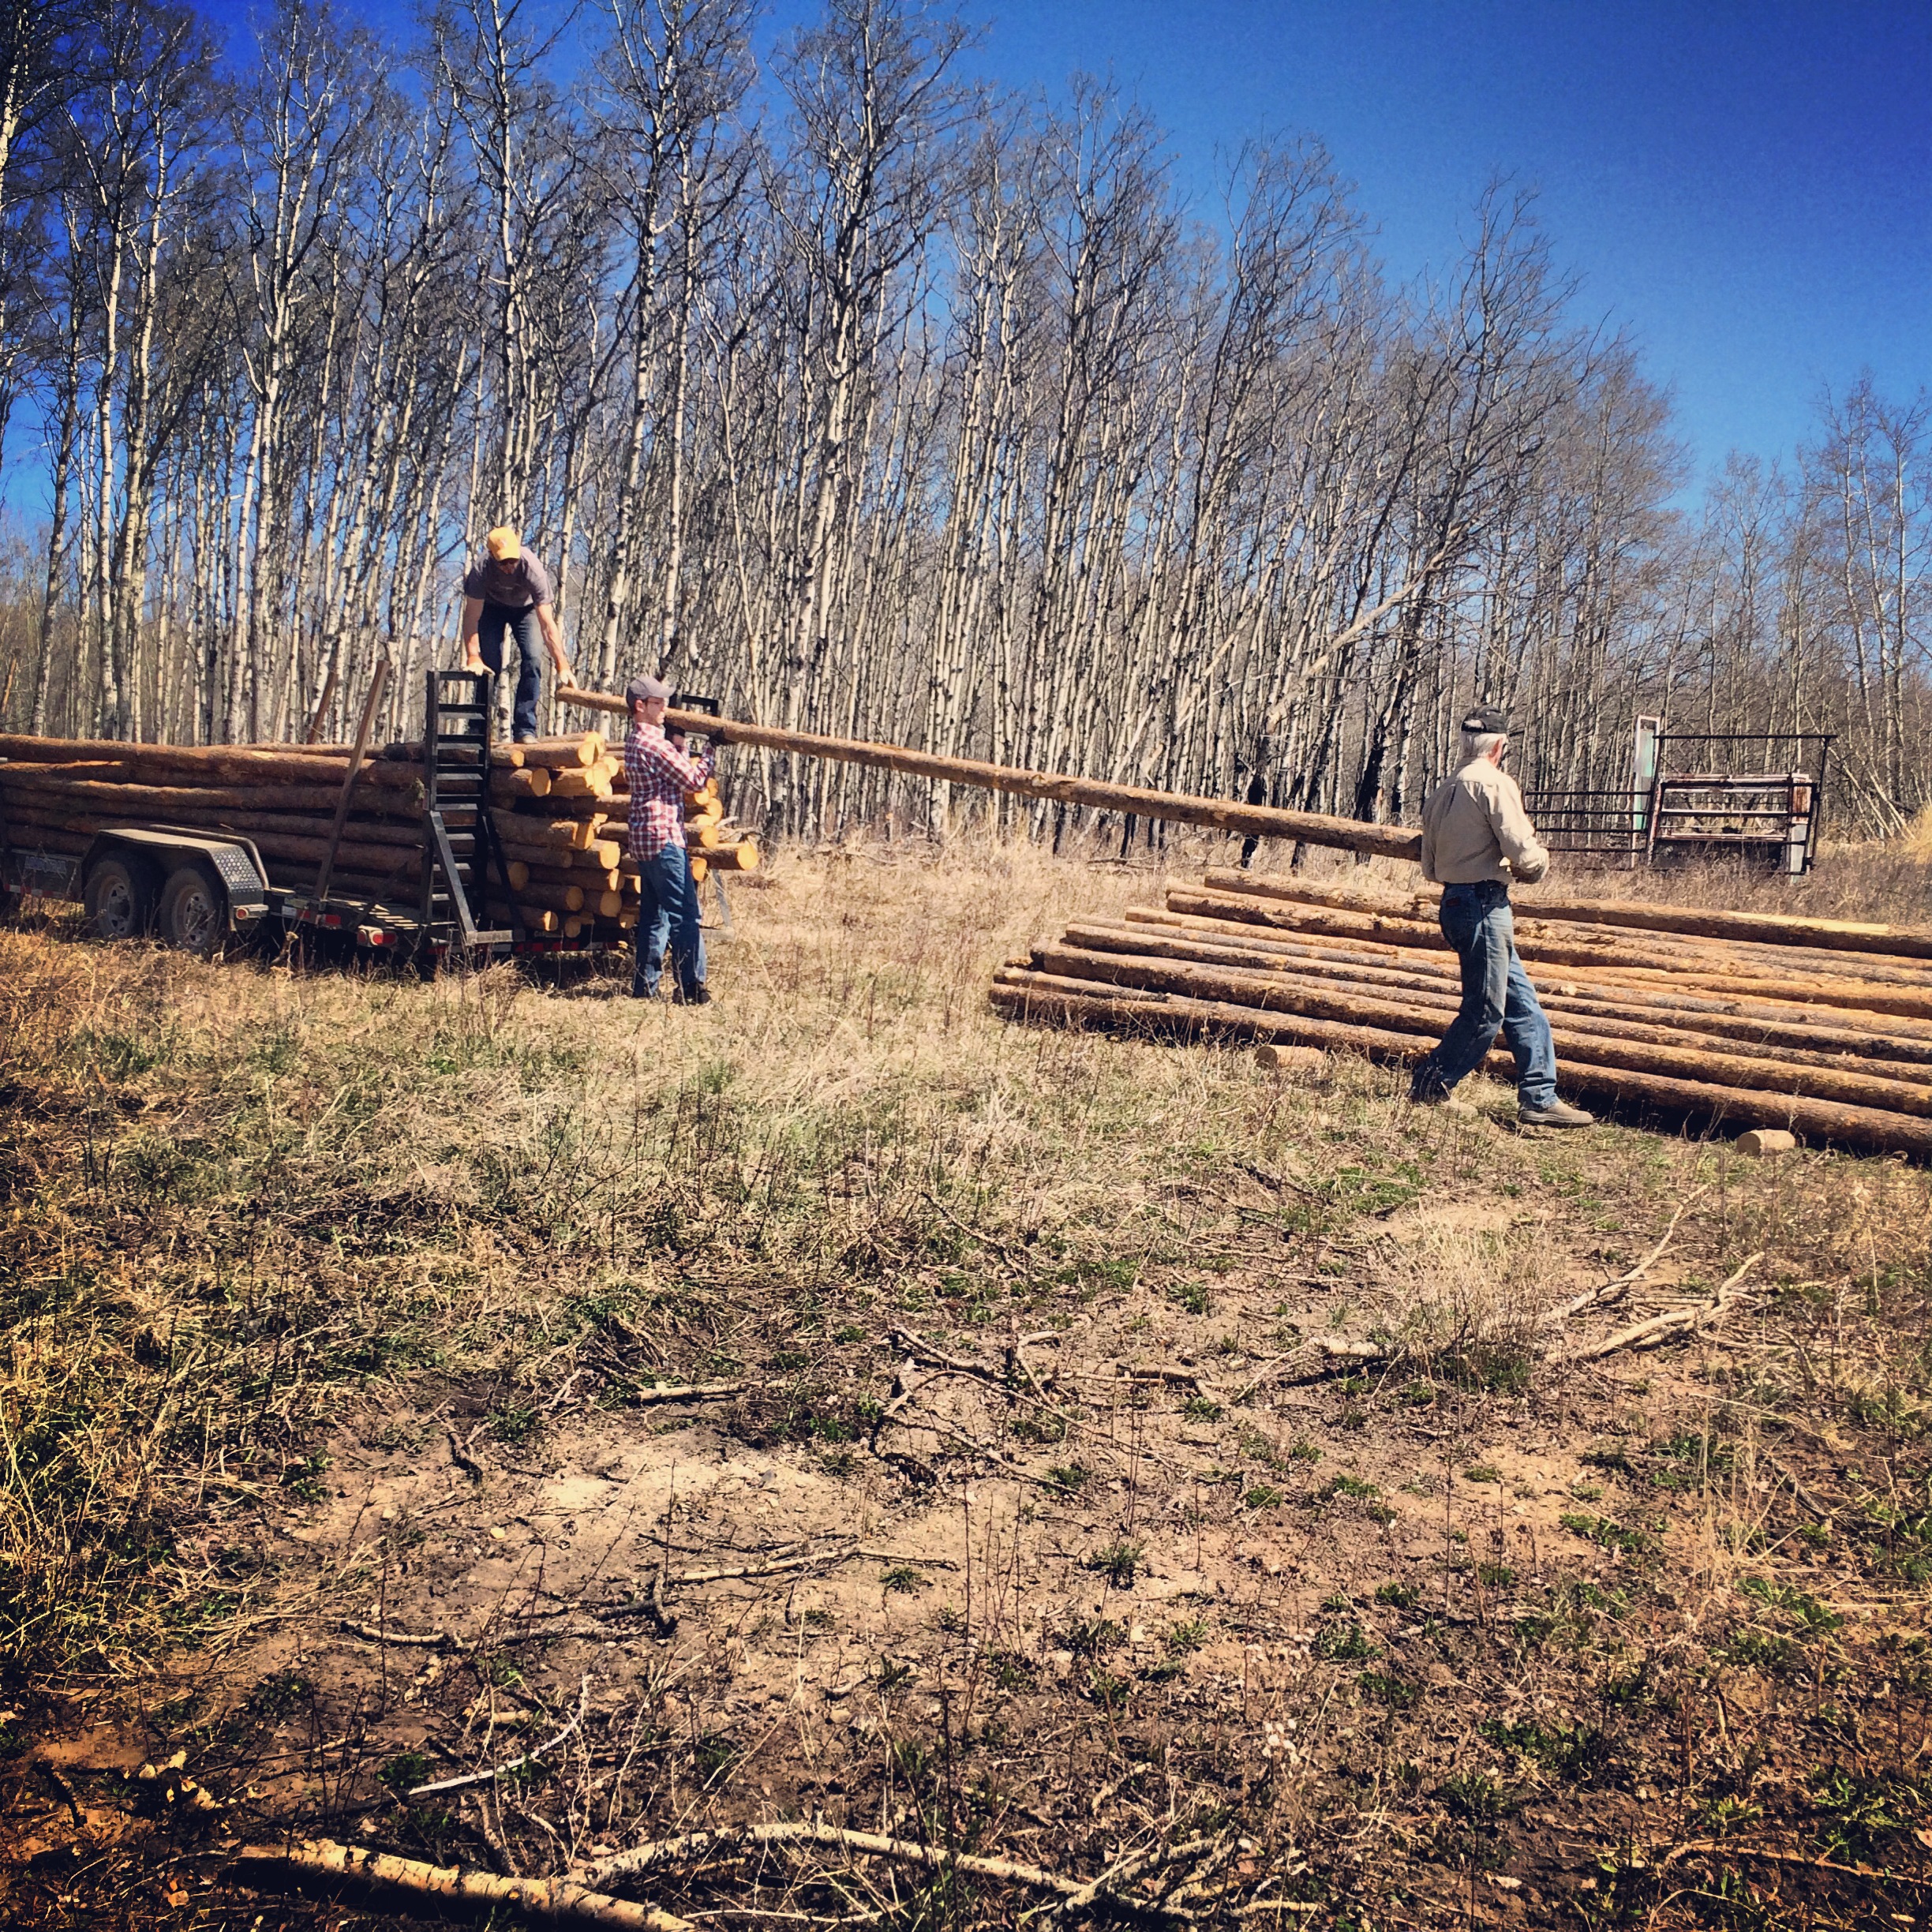
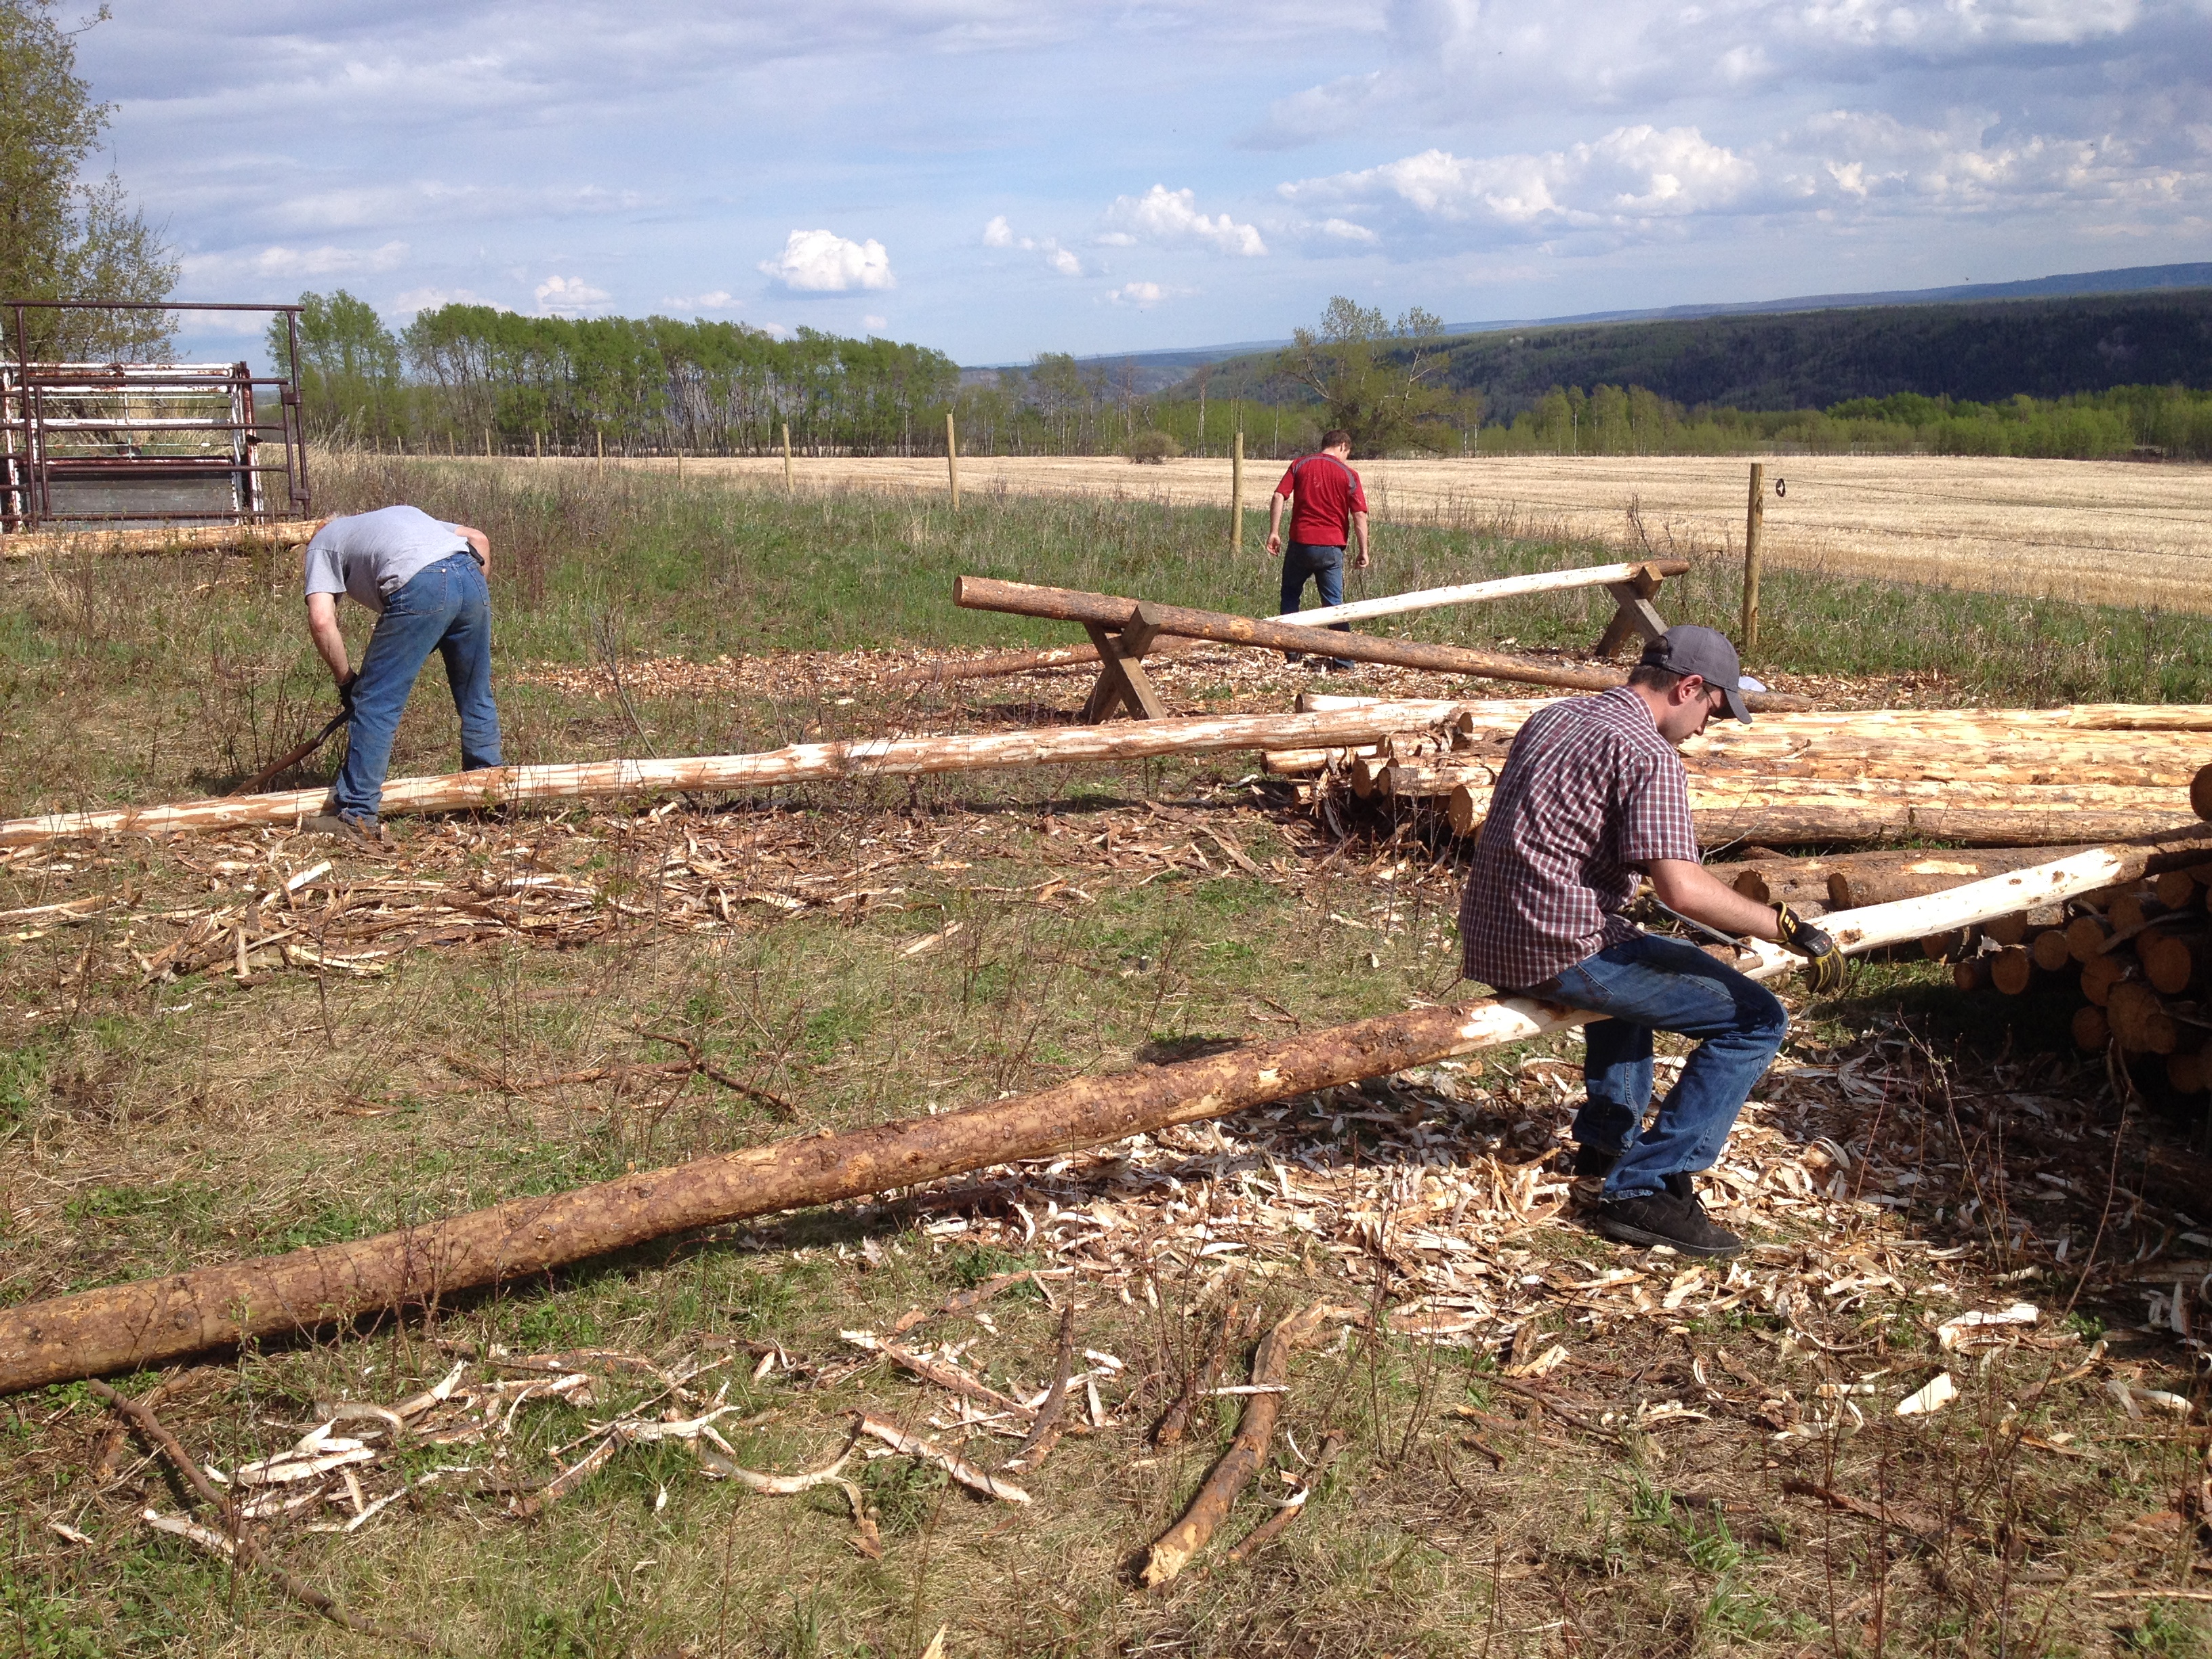
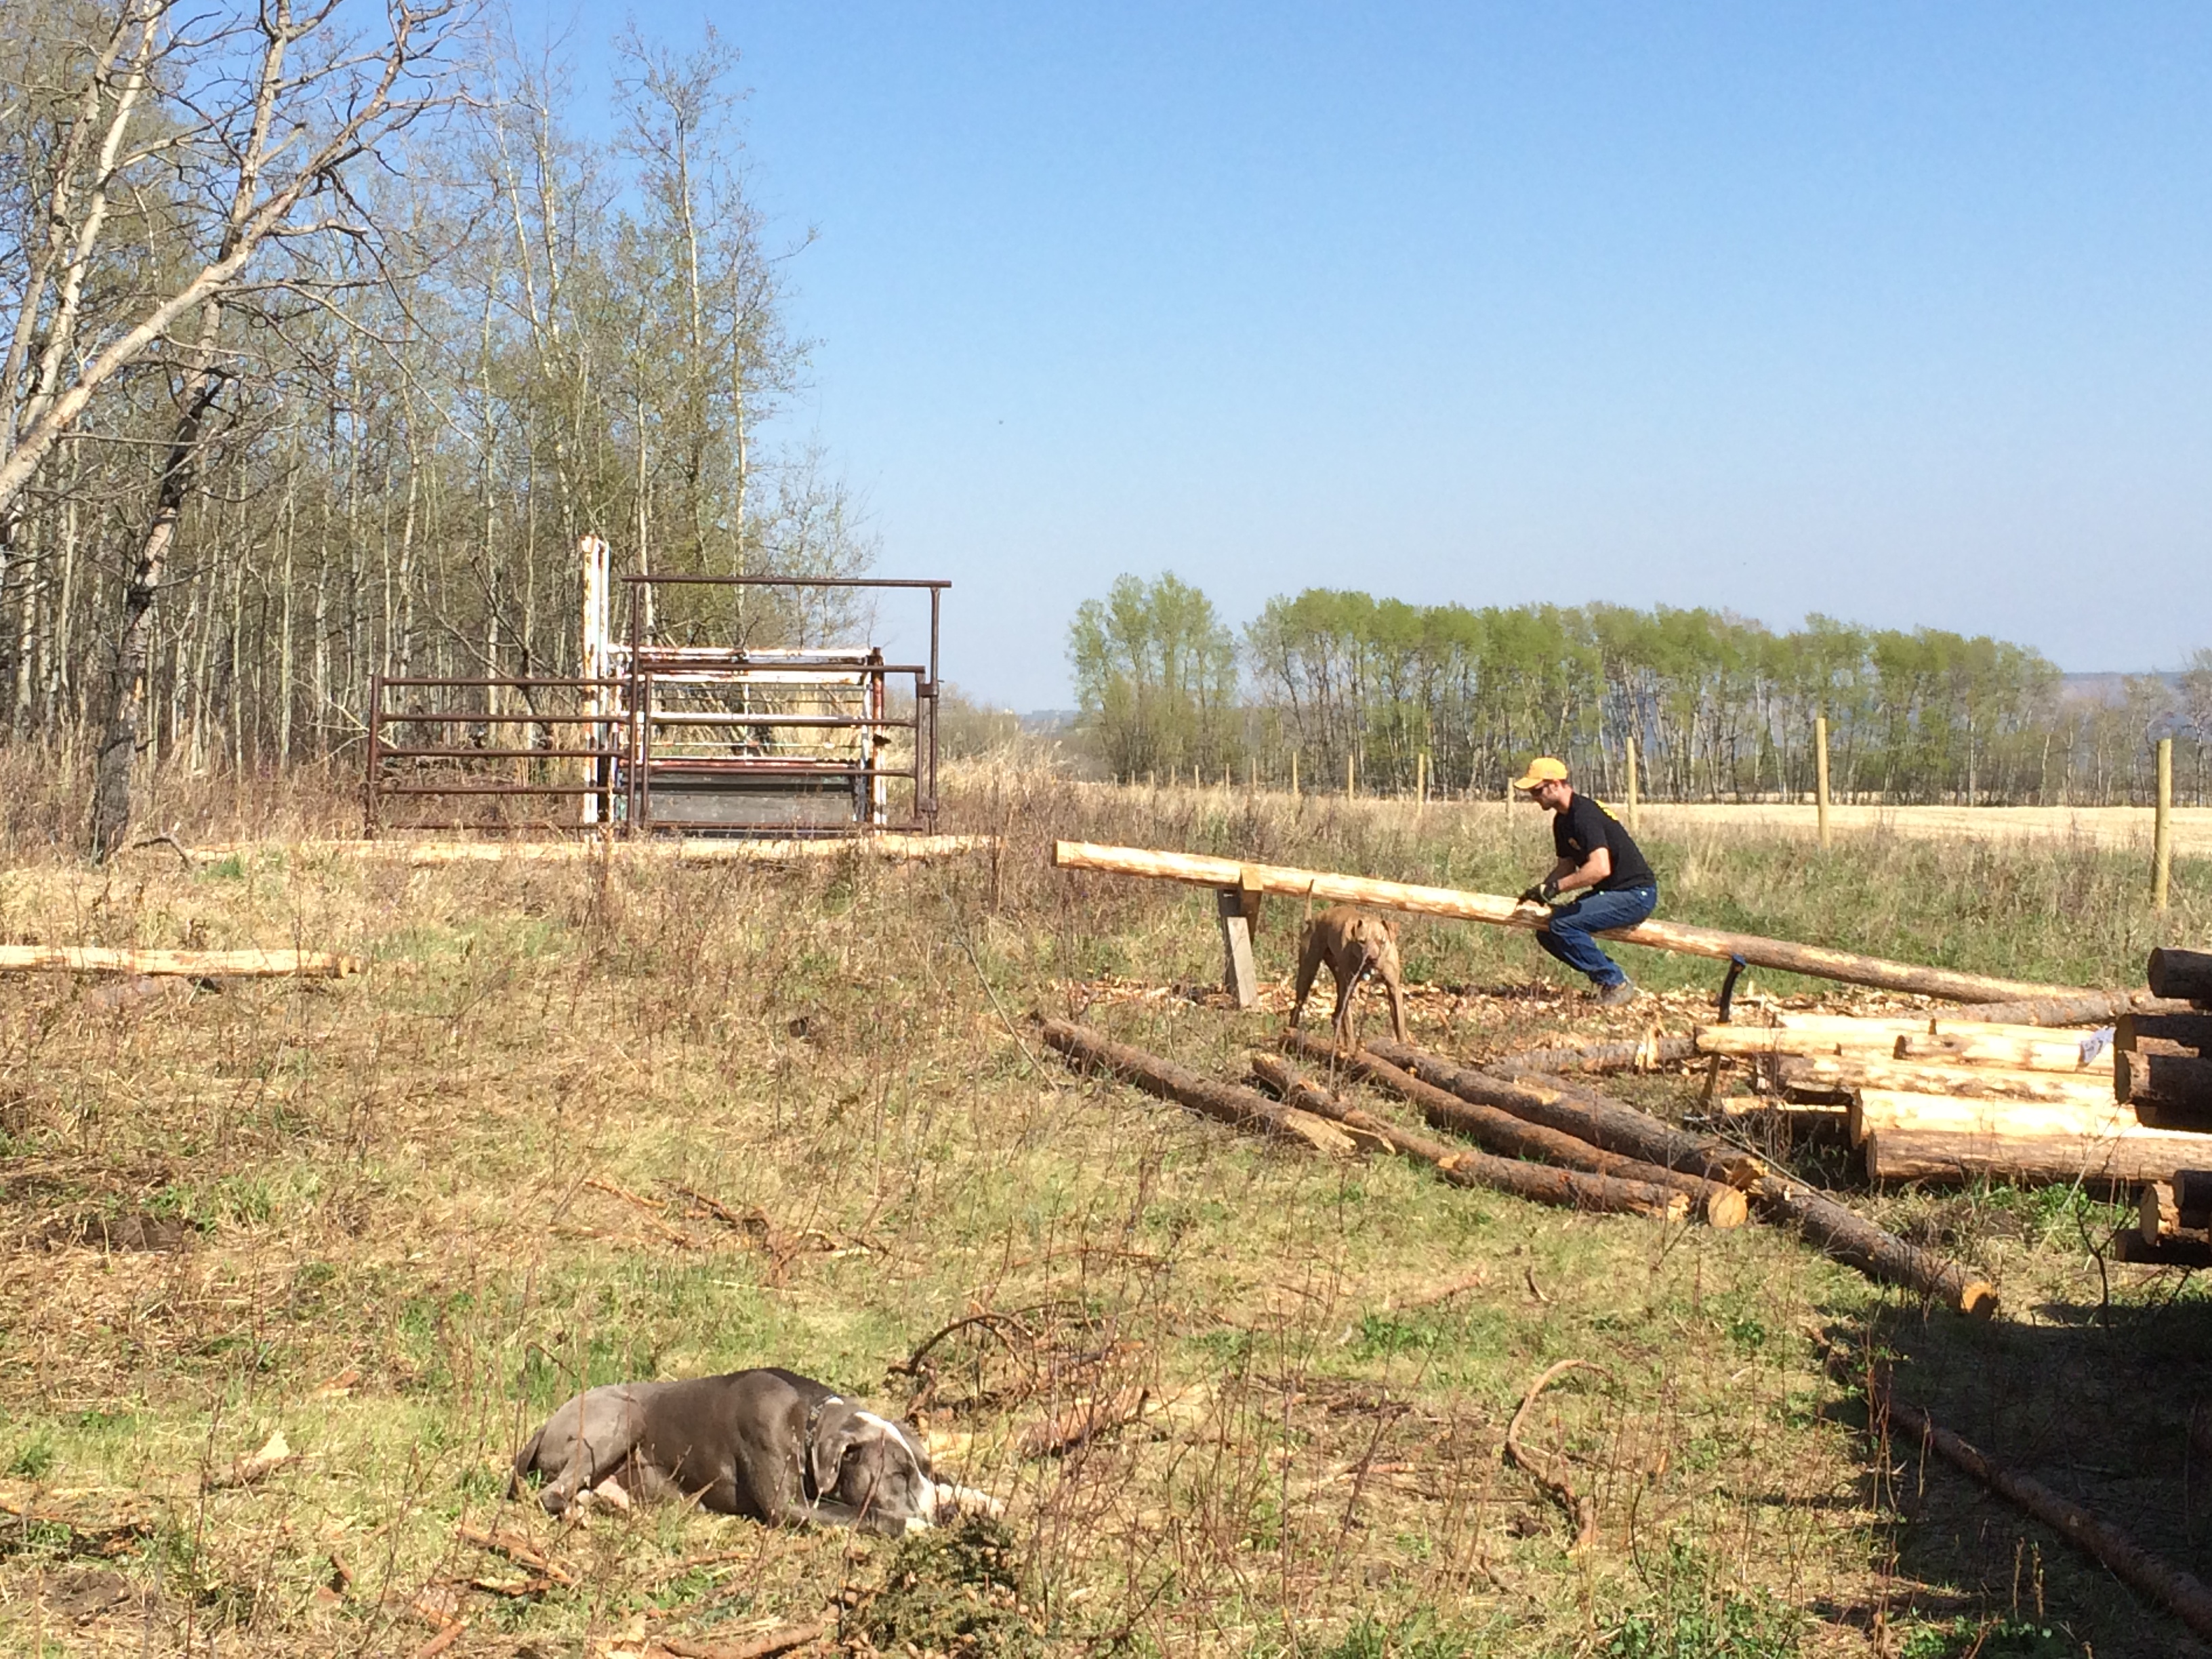
Clay and I have been putting our full attention into getting the chicken coop finished. We’ve taken some trees out and moved the sea can, stripped the interior of all the shop aluminum, sanded the floor, cut the window hole, cut the chicken door, power washed the inside, framed the partition and landscaped and measured the chicken yard. Phew. And we still have approximately 43 things left to do.


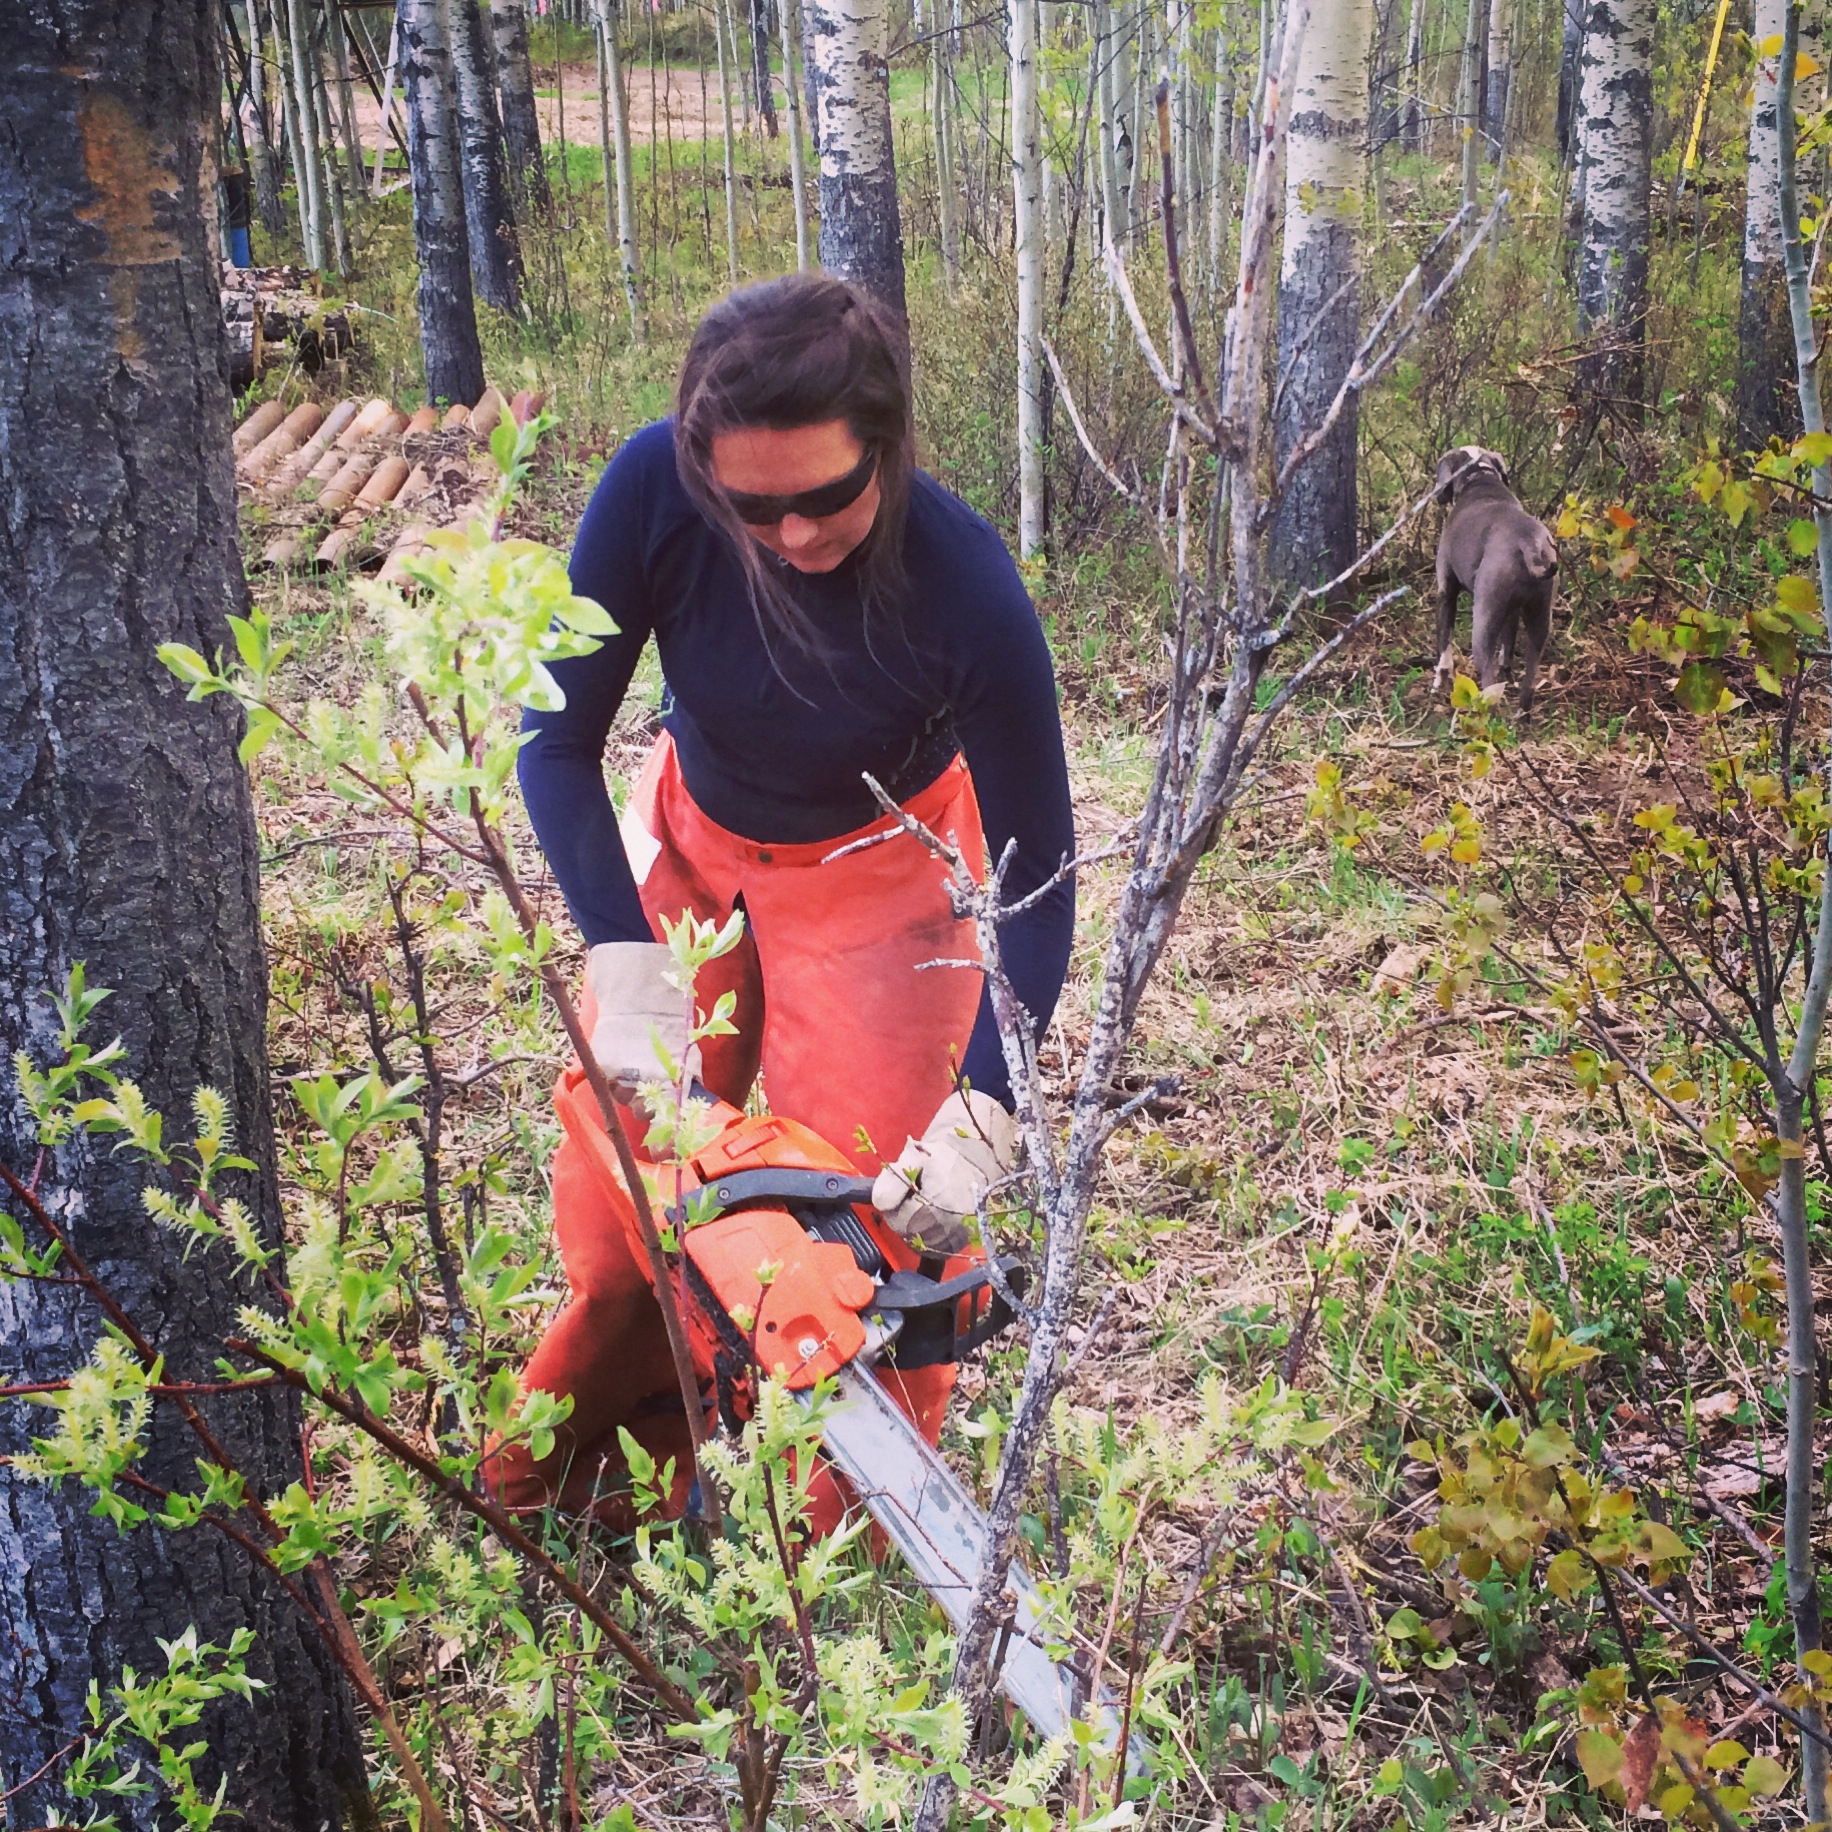
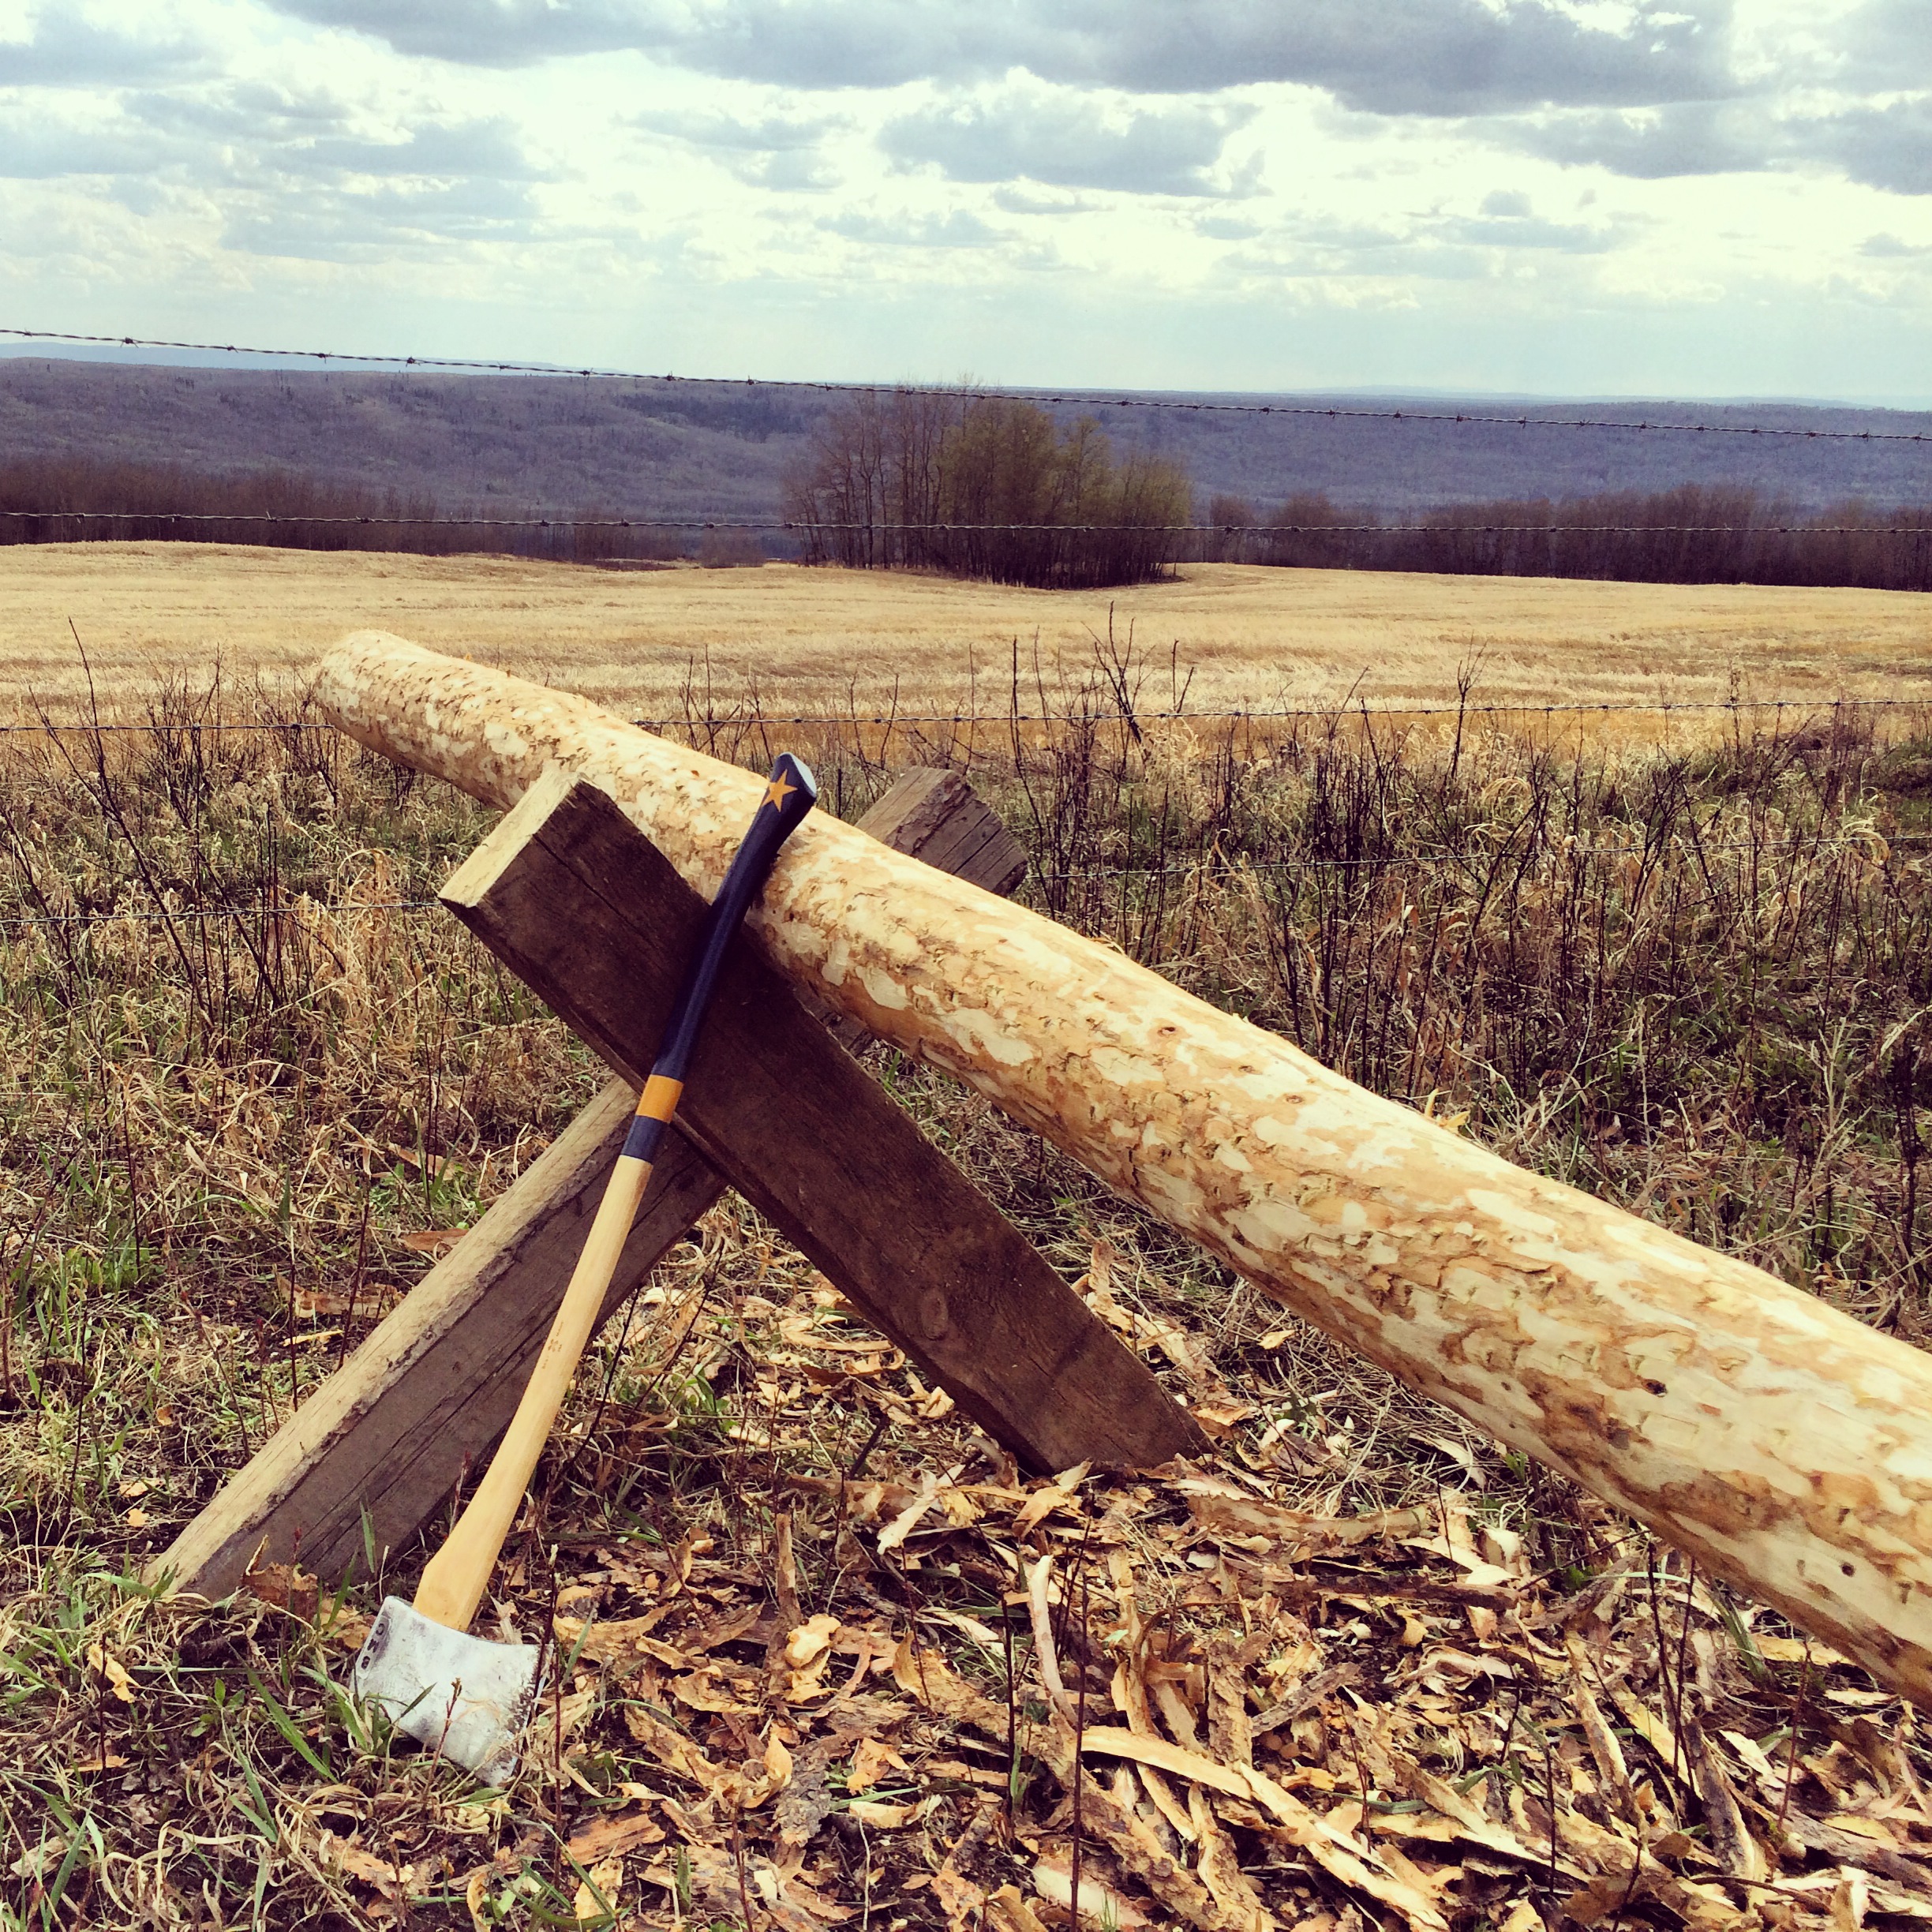
During our spare time we have been peeling a great number of logs that will eventually be the corrals for the wild horses. I say eventually because we are averaging about 5 per day between the two of us and there are 500 logs. So here’s to a celebration party in approximately 100 days! Log peeling is not easy work. But by god, I better have the best upper arm strength in the county by the time we’re finished…Am I sounding country enough yet?
Our hopes are to have the chicken coop finished by this weekend (please, god) so we can lounge about for the rest of the summer work our asses off on something else. Apologies for the straight iPhone photos, it seems I won’t have time to properly edit a photo until winter (instagram editing counts, right? (I can see my photographer friends rolling their eyes from here (triple parentheses!!)))
Ah, farm life. Are you having fun yet?
Off to paint the chicken coop and receive our riding horses… have a fabulous Friday!
~Katy
